If you are looking for an easy way to create a movie slide show from pictures on your computer, then you need to give Windows Live Movie Maker a try. Movie Maker allows you to quickly generate a movie using the AutoMovie feature. Once you have selected the photos you wish to include in your movie, AutoMovie does the rest for you. From adding transitions to including title slides, all is done for you with a push of a button. The how-to below will walk you through the process starting from adding the pictures from Windows Live Photo Gallery.
If you have any comments please post them below or if you need help visit our forums.
Note: I used Windows 7 Ultimate, Windows Live Photo Gallery, and Windows Live Movie Maker for this tutorial.
To Download Windows Live Movie Maker and Windows Live Photo Gallery visit Microsoft. com
Create a Movie Slide show with Windows Live Movie Maker

1. Select the photos you wish to include in the movie slide show and click on Make located in the toolbar.
2. When the drop-down menu opens click on Make a movie…
Note: Make sure that the images you wish to use are located on your computer and not on a network location. You will receive an error prompting you to copy the images to your computer.
After clicking on Make a movie the Windows Live Movie Maker program will open.
In this tutorial we are focusing on the use of the AutoMovie feature and how easy it is to use.
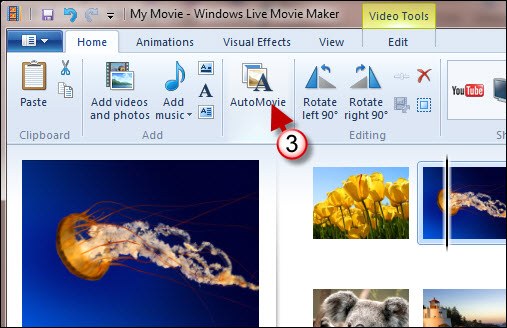
3. Once your photos have loaded, click on the AutoMovie button located in the Ribbon under the Home tab.
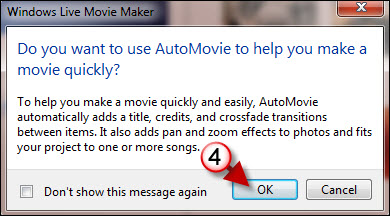
4. To continue with the creation of the video, click OK when prompted by the dialog box above.
Note: You can disable this warning in the future by adding a checkmark to the Don’t show this message again checkbox.
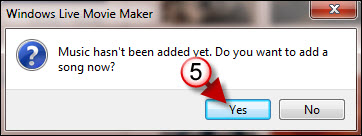
5. Since we never added music to the slide show Live Movie Maker would like to know if we would like to add music to the movie. In this case we want to add music so click Yes.
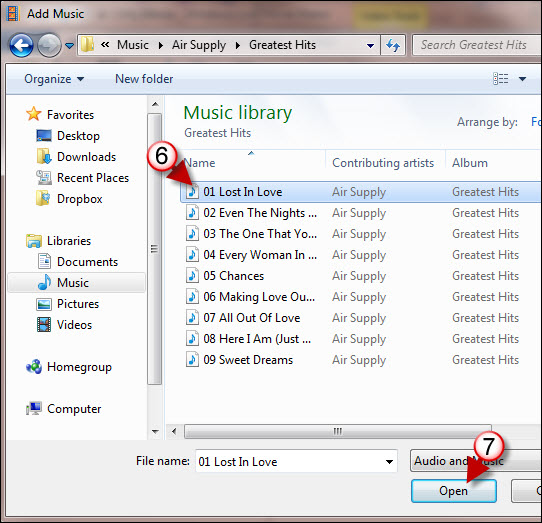
6. The Add Music dialog box will appear, locate the song you wish to add and select it.
7. Click on the Open button to add the song to your movie.
Note: Like the images above make sure that the music you wish to use is located on your computer and not on a network location. You will receive an error prompting you to copy the music to your computer.
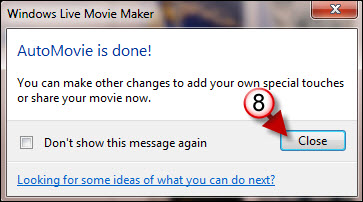
8. When AutoMovie is complete you will see the message box above, click Close to proceed.
Note: You can disable this message in the future by adding a checkmark to the Don’t show this message again checkbox.

When AutoMovie is finished you will notice several things about the images you added to Movie Maker;
a. You will notice that the song you added is now listed above the images in your movie (green bar)
b. There is an introduction slide with a text box, which is customizable.
c. All of the images that you added including the intro and ending slide have transitions.
d. There is a credit slide with a text box, which is customizable.

9. To customize the introduction slide, click on the slide itself from the slide sorter (pane to the right).
10. Double-click on the text box and edit the text. You also have the ability to format the text within the box.
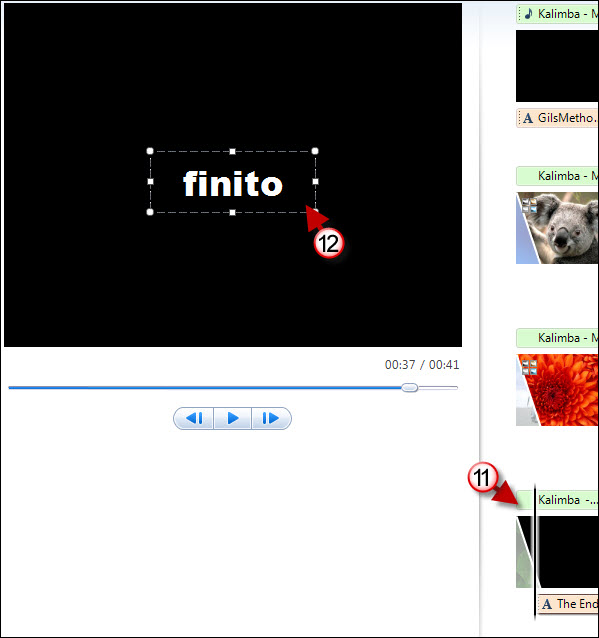
11. To customize the credit slide, click on the slide itself from the slide sorter (pane to the right). If you don’t see the credit slide you may have to scroll all the way to the bottom.
12. Double-click on the text box and edit the text. You also have the ability to format the text within the box.
Saving the Movie File
Once you are satisfied with the movie you customized it’s time to save the movie. Windows Live Movie Maker provides users with 7 options for saving their movie.
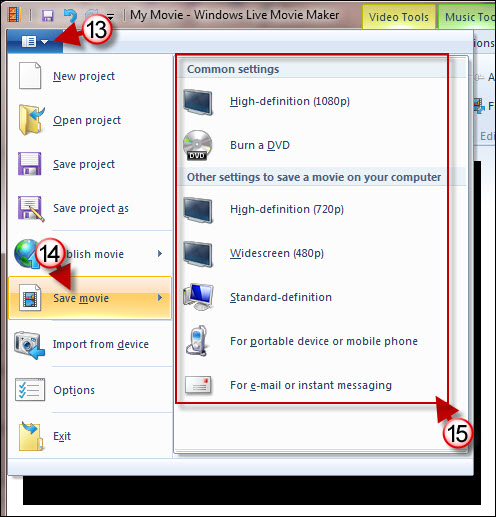
13. To save the movie, click on the File menu.
14. Click on Save movie from the menu
15. Choose a save option that suits your needs.
