If you use Windows 7 and love to share pictures with family and friends, why not create a theme pack of your family’s pictures or of your newborn to send to relatives so they too can enjoy the family pictures right on their desktop. The new themes interface in Windows 7 not only allows you to create custom themes, but it also allows you to share those themes with whomever uses Windows 7. This how-to will walk you through simple process of saving your custom themes, if you wish to customize or create your own theme follow the instructions in Personalize Your Wallpaper and Save Custom Themes in Windows 7 .
If you have any comments please post them below or if you have any questions visit our forums.
Note: I used Windows 7 Ultimate in this tutorial, Windows Starter does not support this feature.
Create the Shortcut
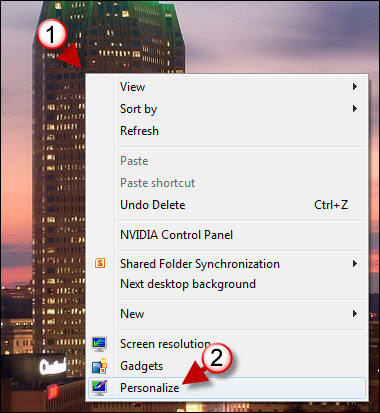
1. Right-click on the Desktop
2. Click on Personalize from the drop-down menu.
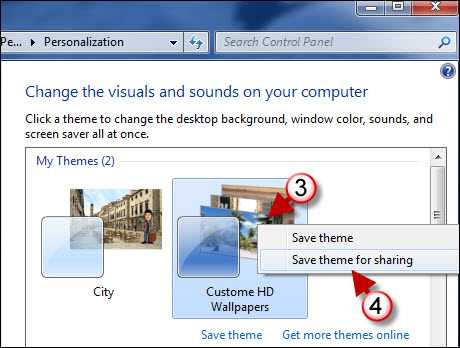
3. Right-click on the theme you wish to share.
4. Click on Save theme for sharing from the menu.
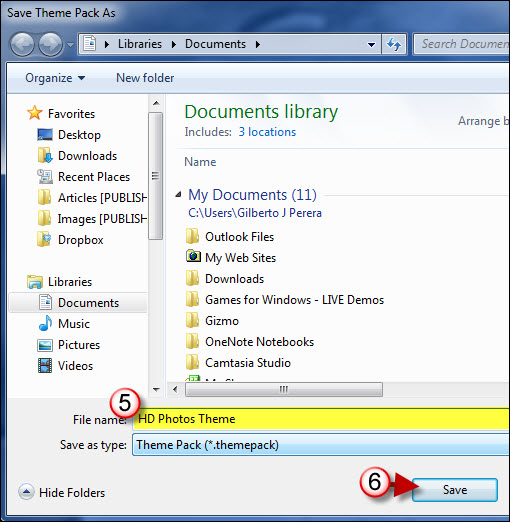
7. Name the Theme Pack
6. Click on Save
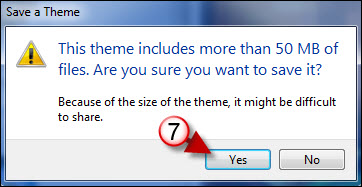
7. If your Theme Pack exceeds 50MB you will receive the message above. Click Yes to proceed.
Note: If you plan on sending the Theme Pack via email you need to make sure that you adhere to your email provider’s attachment limits.
Your theme being saved…
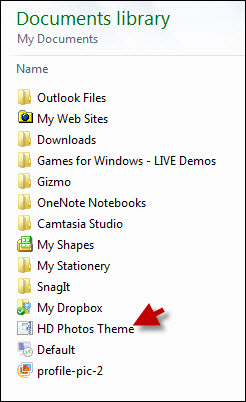
Your newly created theme will reside in the location you specified when saving it. Now you can share your theme via a thumb drive, email, or a service like DropBox.
