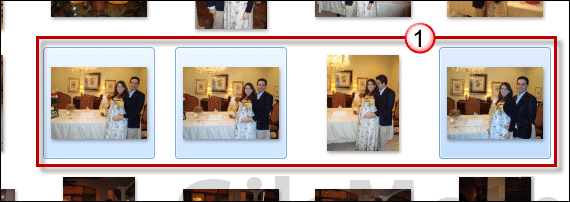
How many times have you taken a family picture and later discover that half the group was looking at the other camera while the remaining half was looking at yours? This can be extremely frustrating because there’s always someone who looks away, closes their eyes, or does something in the picture that ruins the entire shot. To help remedy this, Microsoft introduced a new feature in Windows Photo Gallery that allows you to combine several images of the same shot into one image where everyone looks their best.
Photo Fuse is one of the coolest features you will ever see on any photo editing application and best of all it’s free. Check out the guide below as I show you how to get the perfect shot with Windows Live Photo Gallery.
Software/Hardware used: Windows Live Photo Gallery running on Windows 7.

1. Select the images you wish to fuse. Try to stick to images where the picture was taken at the same distance, lighting, and focus.

2. Click the Create tab and then Photo Fuse in the Tools group.

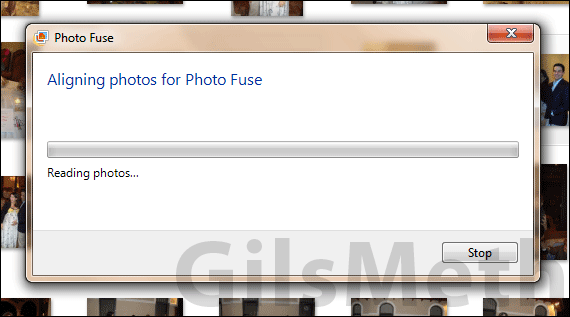
Photo Fuse doing its magic.

3. Click on the face you wish to change on the photograph.
4. A pop-up will appear with a list of images containing the same face you selected. Click on the face you like best. Repeat for other individuals in the picture.
After you select the face you wish to use, Photo Fuse will magically change the face on the original image, blending the background and making it appear as if the image was taken that way. Pretty cool huh?

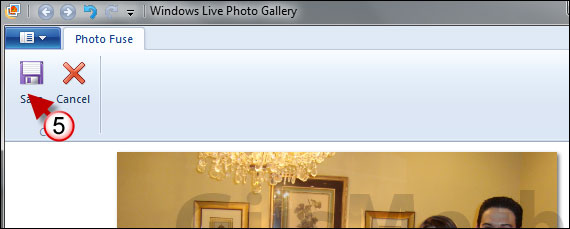
5. Once you are done click the Save button.

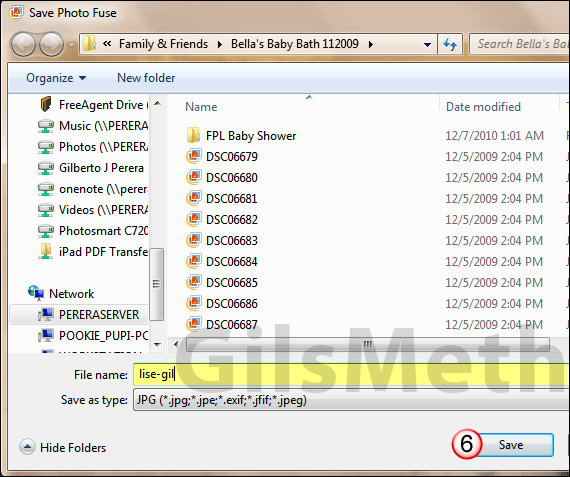
6. You will be prompted to select a save location and to name the file. Click Save to save the new image.
Now that you know how to use Photo Fuse you may want to go over your image collection to fix all of those images that need fixing. If you have any comments or questions please use the comments form below.


