One of the neatest features Picasa sports is the ability to Geotag your pictures using Google Earth. When you geotag a picture you are essentially adding GPS coordinates to the EXIF data contained in your picture (more on EXIF here). When you geotag your pictures you can view them on a map in Google Earth or a website that supports geotagging. The guide below will show you how to geotag your pictures using Picasa with Google Earth and how to display them on both programs. If you have any questions or comments, please post them below.
NOTE: I used Picasa 3 Beta & Google Earth 4.3.7 beta for this tutorial.
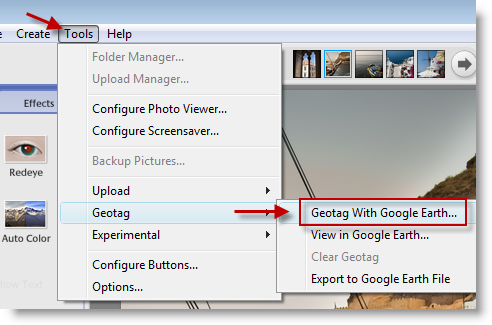
1. With Picasa open, click on Tools > Geotag > Geotag With Google Earth…
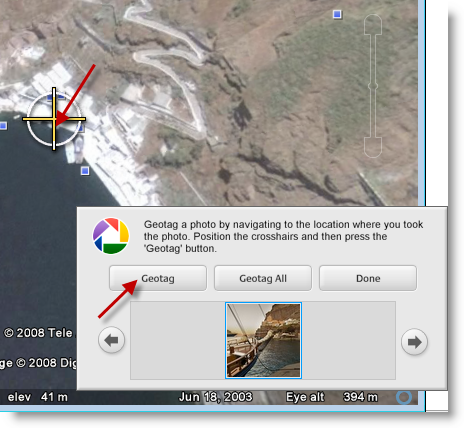
2. Google Earth will open and a Picasa dialog box will be shown on the bottom right. Select the picture you wish to Geotag (use the arrows at each side to select the pictures), find the location where the picture was taken (in Google Earth) and click Geotag. If you took all the pictures at the same spot you can click on Geotag All to add the same coordinates to all the pictures.
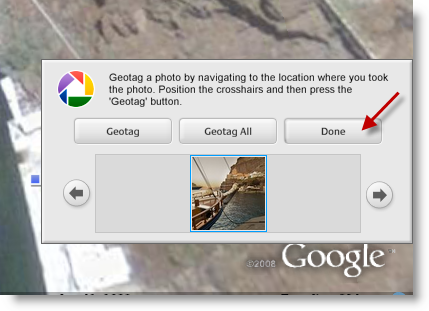
3. Once you’ve completed tagging your pictures, click on the Done button.
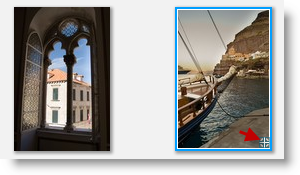
4. When you return to Picasa, you’ll notice that the pictures you geotagged have a small circle with a cross that indicates your picture has been geotagged.
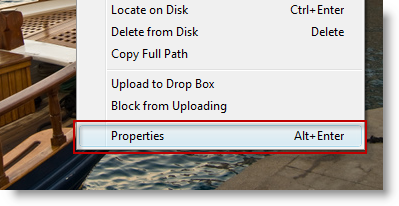
5. You can also see your pictures geotag information by right-clicking on the picture and selecting Properties from the menu.
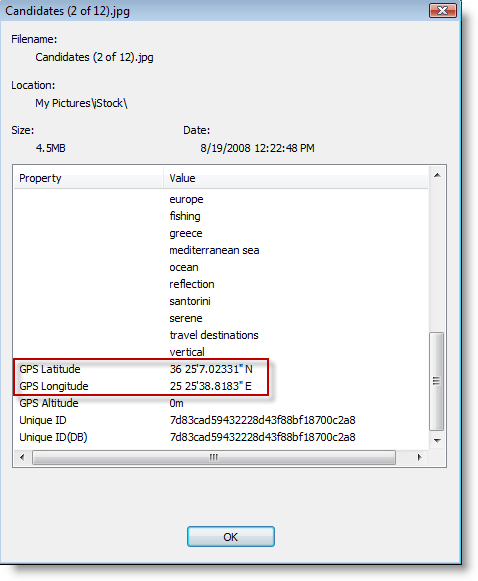
6. Scroll to the bottom of the page and you’ll see the GPS coordinates assigned to the image. Click OK to exit.
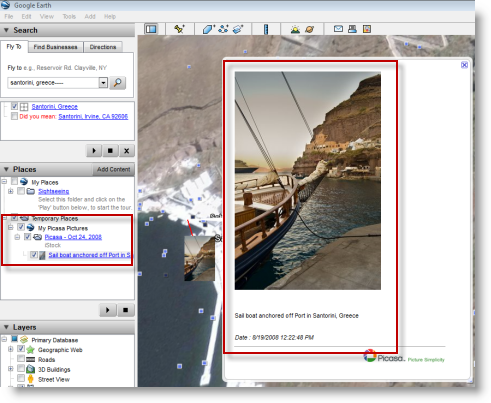
7. You can also view your picture in Google Earth by clicking on your picture located in the Places pane to the left.
