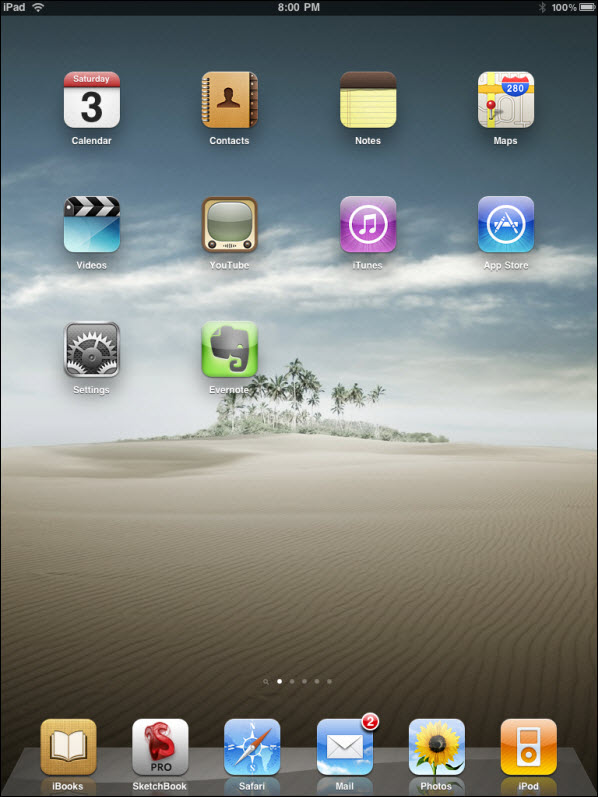
So you received your new iPad and want to transfer pictures stored from emails, websites, and screenshots you’ve taken to your computer. So, how do you get those pictures from your iPad to your computer? It’s not that difficult…all you have to do is make sure your iPad is connected to your computer and that you follow the instructions below.
Do you own an iPad? You may want to look into protecting your investment with invisibleSHIELD screen protectors. If you need any help or have questions please post them below.
Are you looking for more iPad how-to’s, tips, and help? Visit our iPad page.
Note: I used Windows 7 Ultimate and the iPad Wi-Fi 16GB in this tutorial.
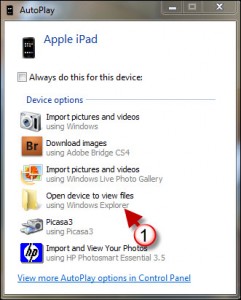
1. After you plug in your iPad, Windows AutoPlay will ask you what you would like to do with the pictures on the device. Click on Open device to view files.
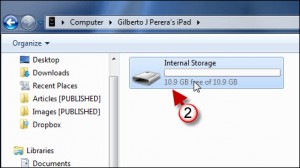
2. When Explorer opens, double-click to open Internal Storage.
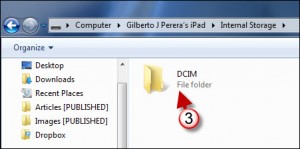
3. Double-click to open the DCIM folder.
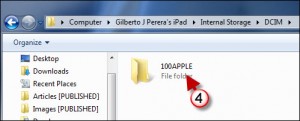
4. Double-click to open the 100APPLE folder.
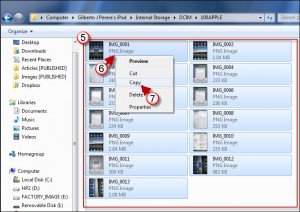
5. Select the pictures you wish to transfer.
6. Right-click on any of the selected images.
7. Click on Copy from the menu.
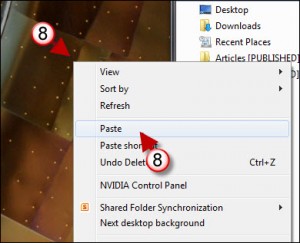
7. Open the folder you wish to copy your images to and right-click on the empty space.
Note: I pasted the images to the Desktop in this tutorial.
8. Click on Paste from the menu and your pictures will transferred from the iPad to the folder of your choosing.

