The iPad, like the iPhone gives you the option to add and remove Apps from the Dock area. This area is usually a great place to put your most frequently accessed applications. Unlike the rest of the Apps on the screen, the Apps on the dock remain in the same position regardless of the Apps page your on. The how-to below is intended for those of you who would like to add and remove Apps from the iPad’s Dock.
Do you own an iPad? You might want to look into protecting your investment with invisibleSHIELD screen protectors. If you need any help or have questions please post them below.
Are you looking for more iPad how-to’s, tips, and help? Visit our iPad page.
Note: You can only add up to 6 Apps to the iPad Dock, the iPad ships with 4 Apps on the Dock.
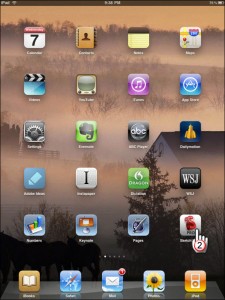
1. Locate the App you wish to place on the iPad dock.
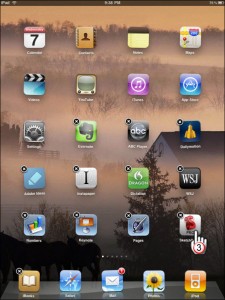
2. Tap and hold down the App you wish to move until all the Apps start wiggling, you will also notice that the Apps will have a small X on the upper-left corner of the App icon.
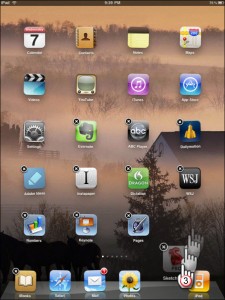
3. While the Apps are wiggling begin to move the App from its location towards the Dock area – do so without lifting your finger from the screen.
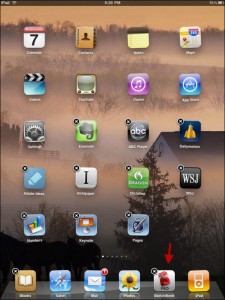
3. As the App approaches the Dock are you will notice that the existing Apps will move out of the way to provide space for the new App. When the App is situated in the location you wish to place it in, lift your finger from the screen and it should stay in its new position.
Note: Once you add the sixth App to the Dock you will not be able to add any other Apps until you remove one of them. There is only space for 6 Apps in the Dock.
App added to the Dock
4. To stop your Apps from jiggling in place, push the Home button.

