If you are not familiar with Office 2007 and the Office Ribbon, chances are that you will probably feel lost in Word 2010. One of the things you will probably miss the most is the Page Setup in the File menu. Don’t worry, there’s an even better option in Word 2007 and 2010. In Word 2007/10, the Office Ribbon has a Margins button in the Page Layout tab that will list commonly used margin presets for Top, Left, Right, and Bottom. Simply click on the preset and your document will adjust to the selected preset. If you wish to use a margin that is not listed you can always visit the Page Setup window, here’s how.
Note: I used Word 2010 for this tutorial, but these instructions will apply to Word 2007 as well.
1. With Word 2010 open, click on the Page Layout tab located in the Office Ribbon.
2. Click on the Margins button in the Page Setup group. You will have two options:
A. You can choose from a group of presets for margin sizes or;
B. Set Custom Margins…
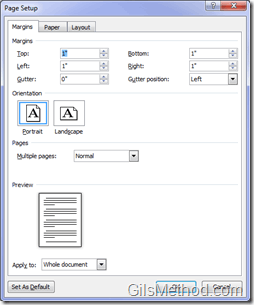
When you click on Custom Margins the all familiar Page Setup window will appear. Here you will be able to customize all of the following.
The Margins tab will allow you to set the following elements:
- Margins
- Orientation
- Pages
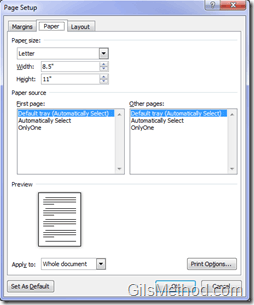
The Paper tab will allow you customize the following:
- Paper size
- Paper source
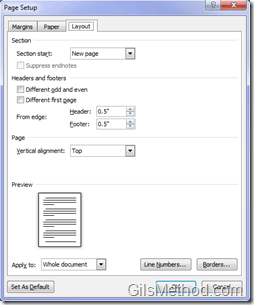
The Layout tab will provide you with the options necessary to modify the document’s layout. Here you will be able to set the following formatting:
- Section
- Header and footers
- Page
- Preview
Please check back for more Office 2010 how-to’s, tips, and news at GilsMethod.com/Office-2010


