If you use Picasa to manage your photos and Facebook to share them with friends and family, then you definitely need to follow this guide, it will make your life simpler. Picasa uploader is simply a button that is added to Picasa’s menu that allows you to upload pictures directly to Facebook using Picasa, no more Java issues when using Facebook’s uploader or worse the simple uploader that makes uploading multiple pictures a pain. Follow the instructions below to add the button to Picasa and then the instructions on uploading your pictures. If you have any comments or know of other ways to upload pictures to Facebook, please post them below.
Note: You need to have Picasa installed before proceeding, to download and install Picasa follow this link..
Installing Facebook Button for Picasa

1. Go to http://apps.facebook.com/picasauploader and click on the Install Now button.
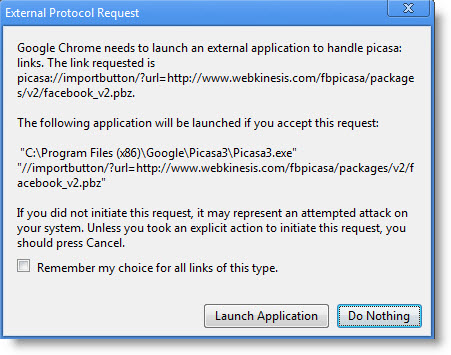
2. You may get a warning from your browser asking you if you would allow your browser to launch Picasa. Click on the Launch Application or Allow (varies by browser).
Note: The screenshot above was made with Google Chrome.
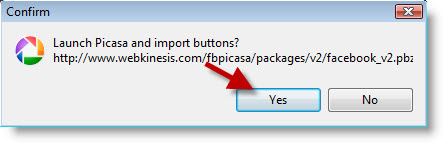
3. Picasa will open and it will ask you if you would like to Launch Picasa and import buttons? Click Yes to proceed.
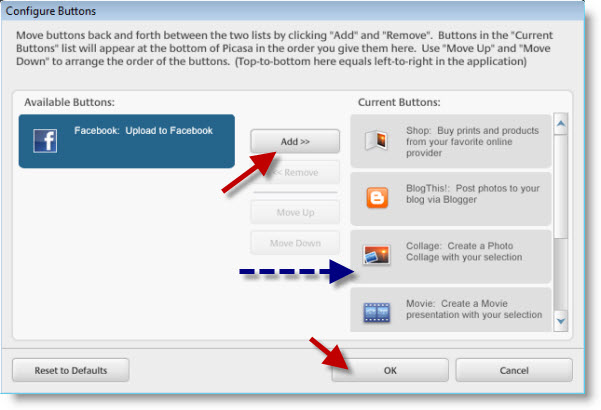
4. When the Configure Buttons window opens click on the Facebook button located under Available Buttons and then click the Add >> button to transfer the Facebook button to the Current Buttons section. Click on OK to finish.

The Picasa shortcut bar will now have a Facebook button available that will allow you to quickly upload pictures from Picasa to Facebook.
Uploading Pictures from Picasa to Facebook
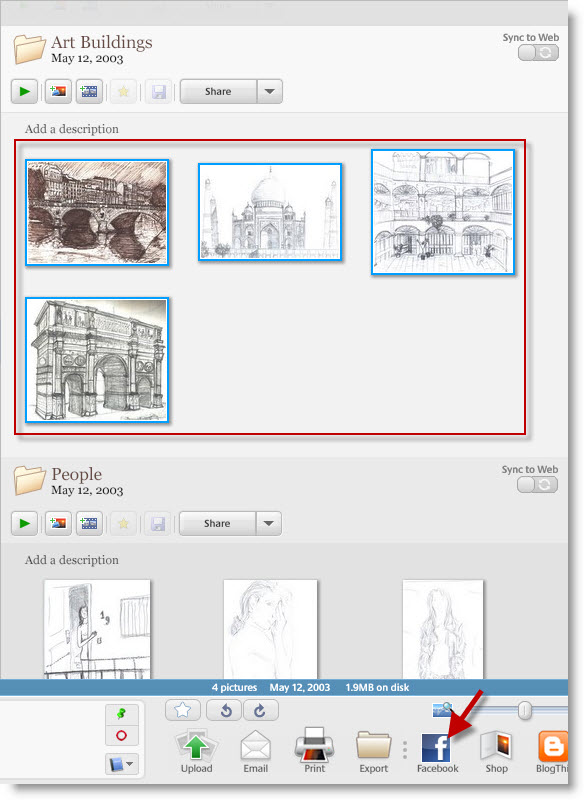
1. Select a picture or a group of pictures you wish to upload to Facebook. Once selected click on the Facebook button located on the bottom potion of the Picasa window.
If this is the first time using the Facebook button proceed to Step 2, otherwise go to Step 3.
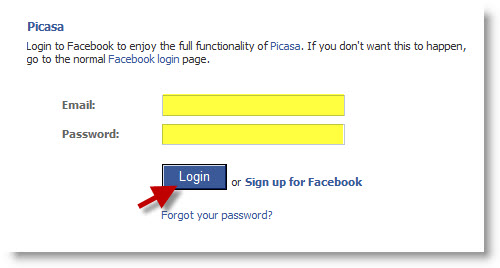
2. Enter your Facebook user name and password, click Login.
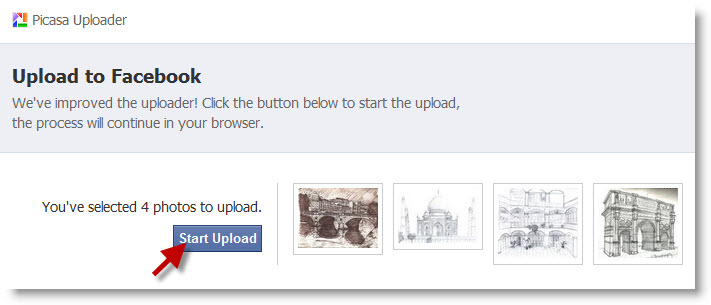 3. Click on the Start Upload button.
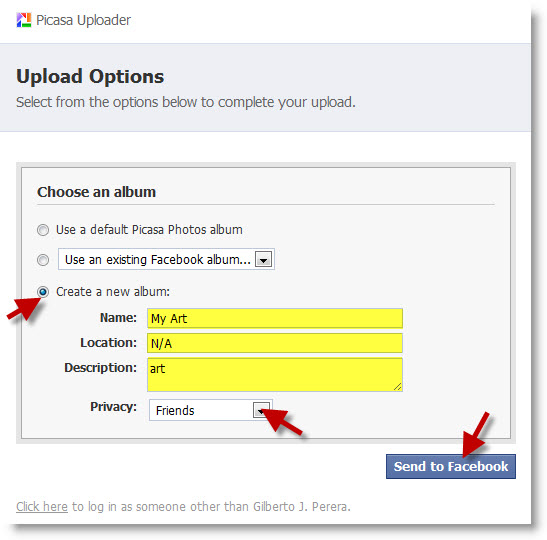
4. In this section you get to specify the location of the pictures or customize a new album. In this example I created a new album and entered the information highlighted above. When you are done click on the Send to Facebook button.
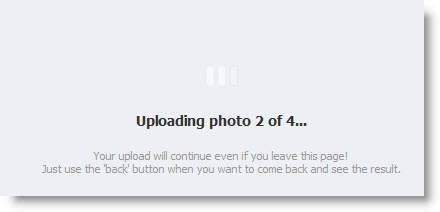
Upload status…

5. Once the upload is complete, click on the Go to album on Facebook button to browse your uploaded album in Facebook.
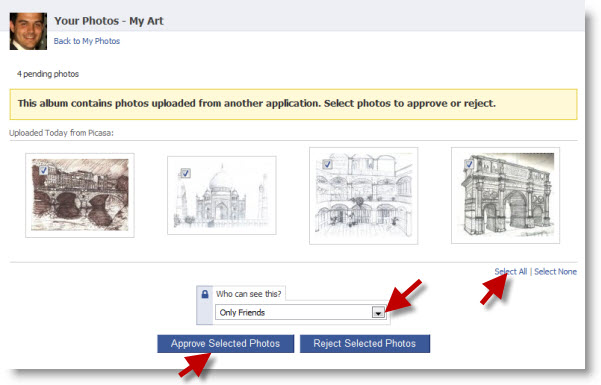
6. Before your albums can be seen by anyone on Facebook you must first approve them in Facebook.
If all pictures are to be approved, click on the Select All link or add a checkmark to the checkbox located on the top left corner of each image to select them. Once selected choose who can see the pictures, and click on the Approve Selected Photos button.
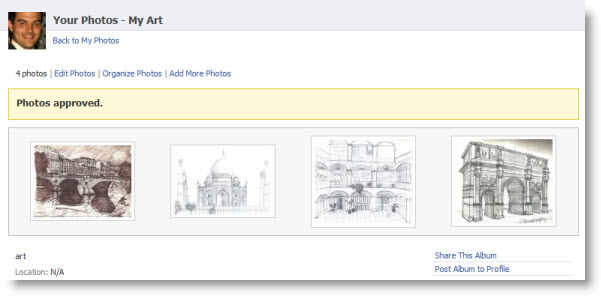
Confirmation that your photos were approved.
