How many times have you found a great scene from a video online that you wanted to show an audience in PowerPoint? Of those times how many of those desired scenes were located halfway between the video? Unless you know how to edit videos you probably sat your audience through 5 minutes of meaningless footage before you got to the moment you wanted to show them. By then, interest waned and the impact of the video lost its effect. Lucky for you PowerPoint 2010 has a feature which will save you the trouble and allow you to display the portion of the video you actually want to show. Follow the instructions below to learn how to use this easy, but powerful feature.
If you have any comments please post them below or if you have any questions visit our forums.
Note: I used Windows 7 Ultimate and PowerPoint 2010 in this tutorial.
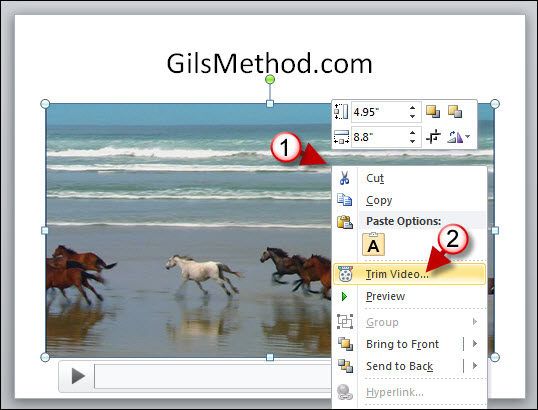
1. Assuming that you have already placed a video on the slide, right-click on the video.
2. When the menu appears, click on Trim Video…
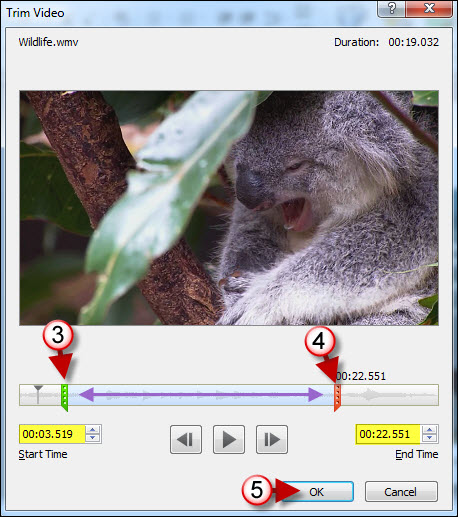
3. The Trim Video window will open. Use the green slider on the left to adjust the location where the movie will begin.
4. Now use the slider on the right (the red slider) to adjust the location where the movie will end.
Note: You can also use the Start Time and End Time boxes to adjust the start and end times of the video.
5. Click OK to apply the changes.

When you return to your slide and play the video it should start and end at the time you indicated.
