If you are reading this, chances are you are scratching your head and wondering why Netflix is not automatically appearing on your Windows Media Center machine. Luckily you’ve come to the right location and I have a solution for you. If after following this guide you cannot still get the Netflix install option to appear, verify that you have an internet connection before proceeding.
Note: I used Windows 7 Ultimate for this guide.
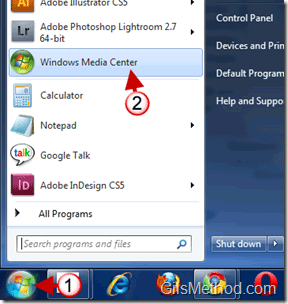
1. Click on the Orb to open the Start Menu and 2. Click on Windows Media Center.
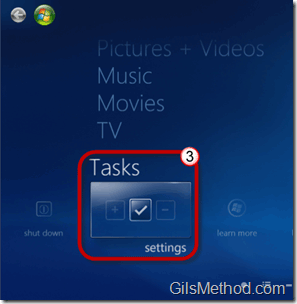
3. Click on Settings in the Tasks section at the bottom of the list.
4. Click on General.
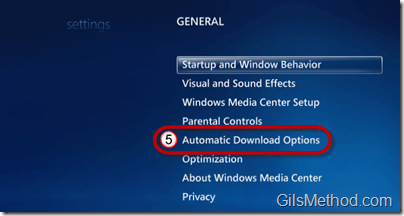
5. Click on Automatic Download Options.
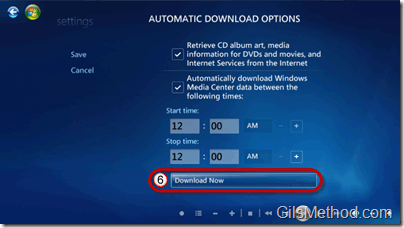
6. Click on Download Now.
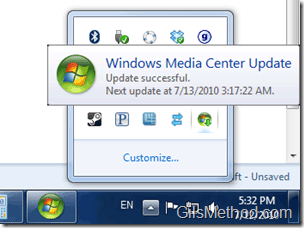
Give Windows Media Center a couple of minutes (depends on your internet connection) to download any pending updates. Wait for the updates to download before proceeding.
7. Once the updates have been downloaded, return to the Windows Media Center application and locate the Netflix icon under the Movies section.
Once you agree to the terms you will be able to install the Netflix application for Windows Media Player. Enjoy!

