This How-to serves two purposes, the first is to inform all of Gil’s Method readers that Google has released Picasa 3 Beta. The other is to update and create a new guide to creating photo collages in Picasa 3. I felt that the changes between Picasa 2 and Picasa 3 are significant enough to warrant a separate guide, the new features to create collages and instructions on how to make your own collage are summarized below.
- Ability to edit collages
- Options to set collage aspect ratio
- Quicker response time
- Additional collage types
- Grid spacing
- Much more…
Below you will find the steps necessary to create your own picture collage using Picasa 3. if you have any comments or questions, please post them below.
To view the original Picasa 2 Guide, follow this link
1. Download and install Picasa 3 (Free Download)
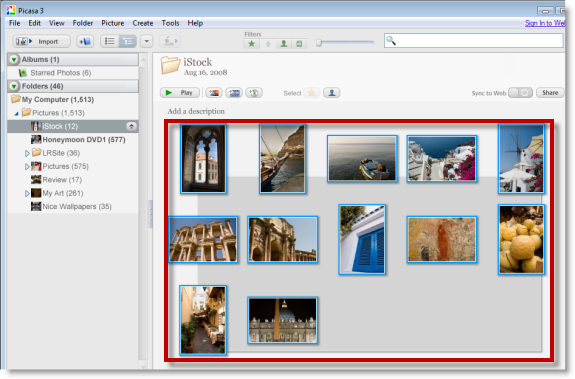
2. Select the photographs you wish to create a collage from
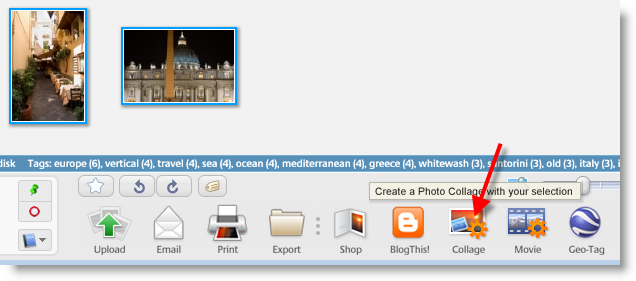
3. Click on the Collage button located on the bottom portion of the screen.
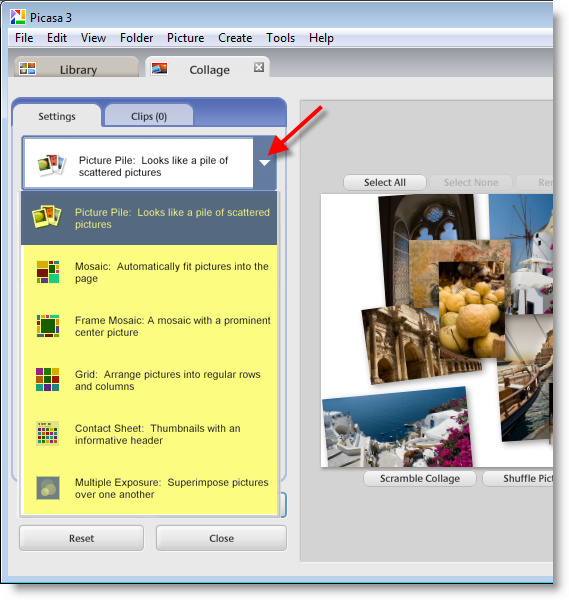
4. In the Settings tab, click on the drop-down arrow to select the type of collage you wish to create
Note: In this tutorial I chose the Mosaic collage
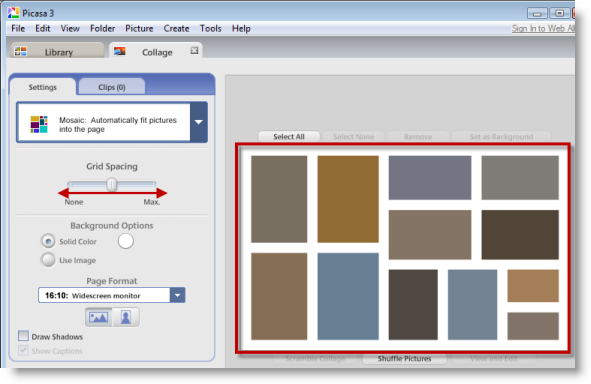
5. Once you’ve selected the type of collage, you can modify the space between each picture by adjusting the Grid Spacing slider, the changes you make will be reflected on the pane to the right (your collage preview).
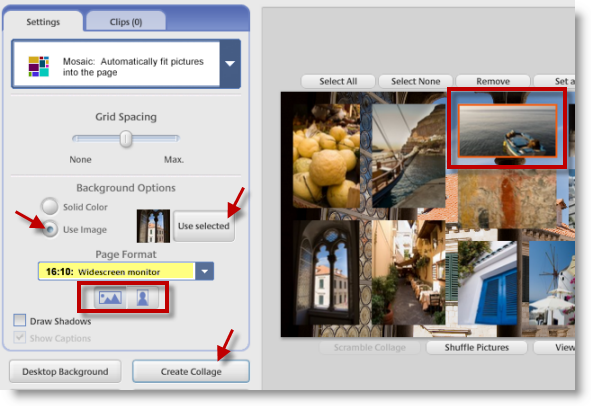
6. In this section you have several options, once you’ve made the options below, click on the Create Collage button to generate your collage.
Background Options: You can pick a solid color or one of the pictures in your collage. To chose a picture from your collage, select the desired picture and click on the Use selected button.
Page Format: This drop-down gives you the ability of selecting the aspect ration of your collage (I believe it automatically selects it for you based on your resolution, I have not confirmed this yet).
Collage Orientation: This allows you to chose the orientation of your collage, portrait or landscape.
Note: Collage generation may take some time depending on the number of pictures and the quality of the pictures.

7. Your collage should be complete, the example above is the one I generated.
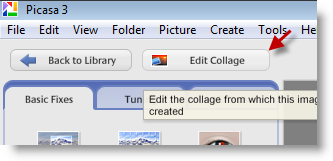
8. Once you’ve finished with your collage, you have the ability to go back and edit it, with the collage selected in Picasa 3, click on the Edit Collage button (repeat the steps above).
