Having trouble managing all of the files on your computer and your memory key? Are you concerned with loosing your memory key and the saved files? If so you might be able to take care of some of these concerns by using Microsoft’s free file synching utility, SyncToy 2.
Once configured SyncToy will automatically synchronize files and folders that you select and ensure that renamed files and folders are tracked. The quick description from Microsoft’s website should give you an idea as to what the software will do for you.
"SyncToy, a free PowerToy for Microsoft Windows, is an easy to use, highly customizable program that helps users to do the heavy lifting involved with the copying, moving, and synchronization of different directories. Most common operations can be performed with just a few clicks of the mouse, and additional customization is available without additional complexity. SyncToy can manage multiple sets of folders at the same time; it can combine files from two folders in one case, and mimic renames and deletes in another case. Unlike other applications, SyncToy actually keeps track of renames to files and will make sure those changes get carried over to the synchronized folder."
The guide below will walk you through the process of setting up SyncToy to synchronize a laptop with a memory key. This can be used for two purposes, keeping the files synched and ensuring that there is a backup of the file somewhere. If you have any comments or questions please post them below.
Note: Please download and install SyncToy 2 before proceeding with the guide Download Link (from Microsoft)
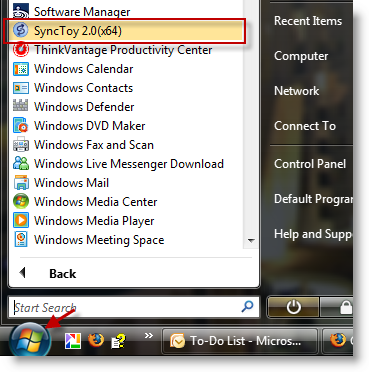
1. Go to the Start Menu > All Programs and click on the SyncToy 2.0 icon to start the program
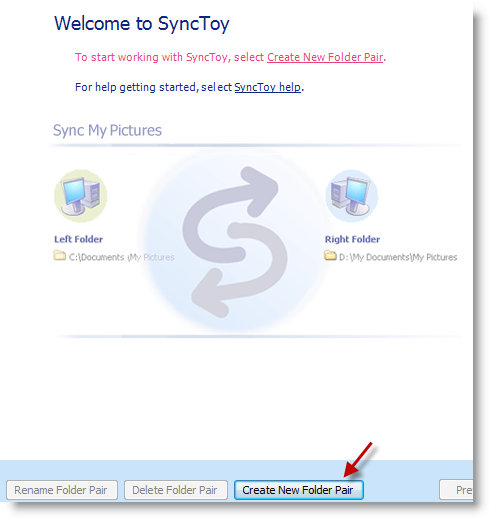
2. The SyncToy window will open. Click on the Create New Folder Pair to setup the synchronization of two folders.
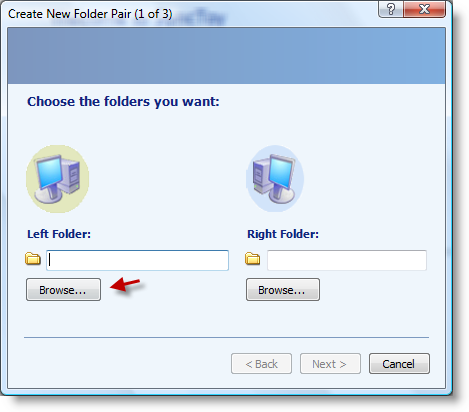
3. The Create New Folder Pair wizard will open. Click on Browse to select the "Left Folder".
Note: The Left Folder should be the folder that you want to Synchronize from.
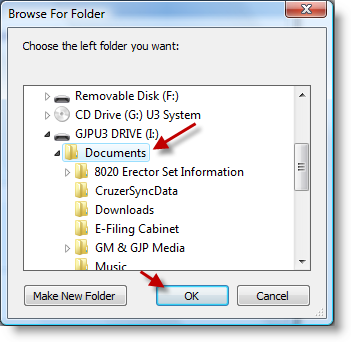
4. Select the directory and click OK.
(In this example I’m choosing my Cruzer Memory key as my Left Folder)
Repeat this step for the Right Folder.
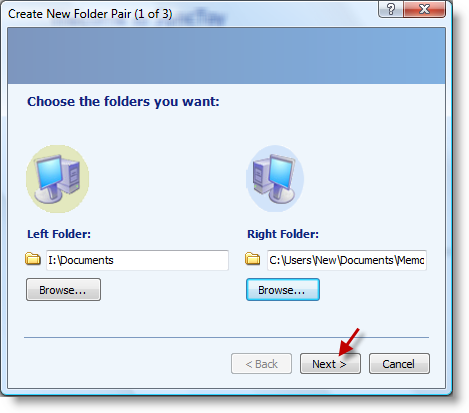
5. Once your folders are chosen, click on Next to proceed.
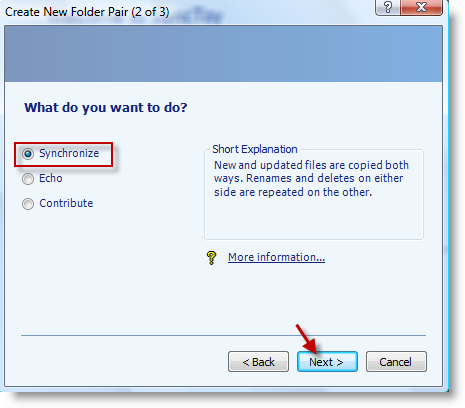
6. On this screen you choose the type of synchronization you wish to perform, click Next. I chose Synchronize for this example.
See the options and descriptions below.
- Synchronize: New and updated files are copied both ways. Renames and deletes on either side are repeated on the other.
- Echo: New and updated files are copied left to right. Renames and deletes on the left are repeated on the right.
- Contribute: New and updated files are copied left to right. Renames on the left are repeated on the right. No deletions.
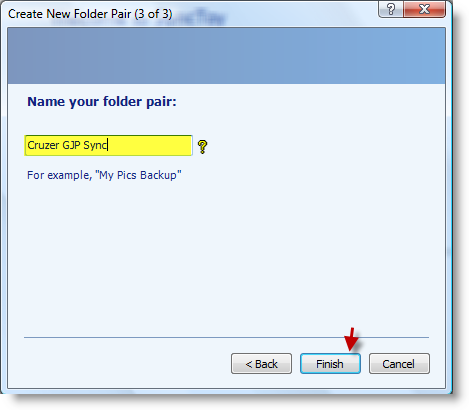
7. Name your folder pair, click Finish.
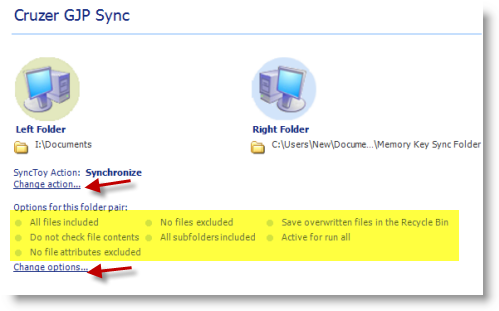
8. This screen will show you a summary of the Cruzer GJP Sync;
SyncToy Action: Synchronize (If you changed your mind about the type of synchronization you wish to perform, click on the Change action… link)
Options for this folder pair: Here you can customize how you want the files to synchronize, I’d go with the default settings. (If you wish to customize, click on the Change options… link [see screen shot below])
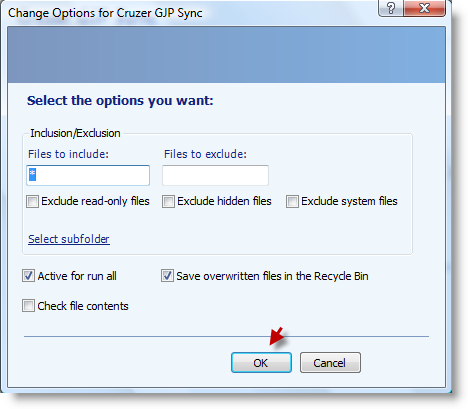
Options for this folder pair dialog box (When completed click OK)

9. Once all of your settings are to your satisfaction, click on Run to run the synchronization.

Running Synctoy for Cruzer GJP Sync…
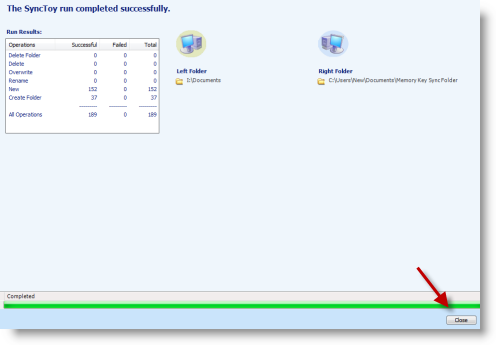
12. When the Synchronization is complete, check for errors [Run Results], click Close.
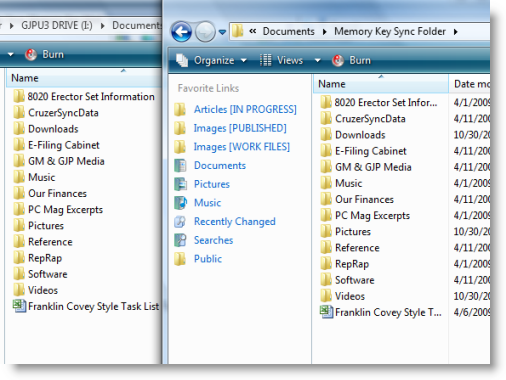
Your files should be synchronized.
