Virtual Machine Additions allow you to extend the capability of Microsoft’s Virtual PC software (capabilities listed at the end of the article), however installing these additions can be a little confusing so I decided to post the instructions to install the Virtual Machine Additions for reference. If you have any comments or questions, please post them below.
Note: I used Virtual PC 2007 using Windows Vista with a Windows XP Virtual Machine.
The instructions below are very similar when using an Ubuntu (linux) and other versions of Windows operating systems.
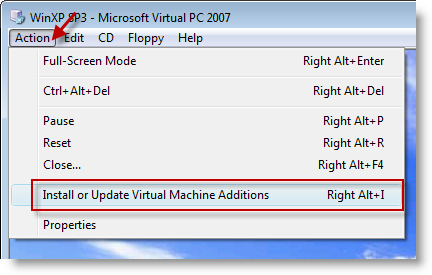
1. While you are running one of your virtual machines, click on Action
2. Then click on Install or Update Virtual Machine Additions (or hit Right Alt + I)
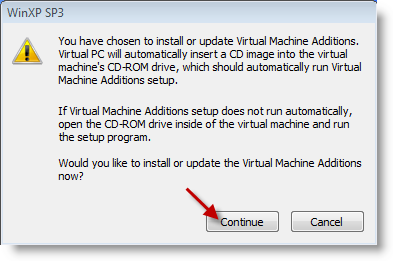
3. You will be prompted with the window above which states that a CD image will be inserted in the Virtual Drive, the CD-ROM contains the installation files for the Virtual Machine Additions. Click Continue so that the virtual CD-ROM is loaded.
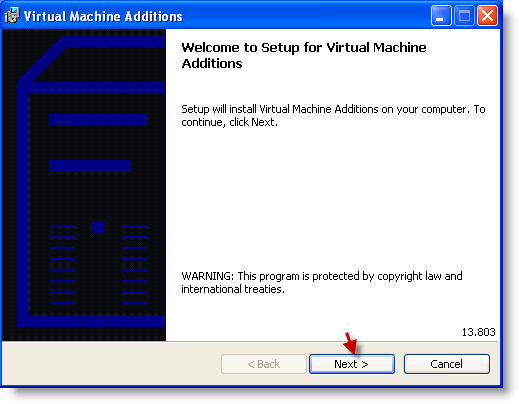
4. The installation will be started in your Virtual PC, click Next to proceed.
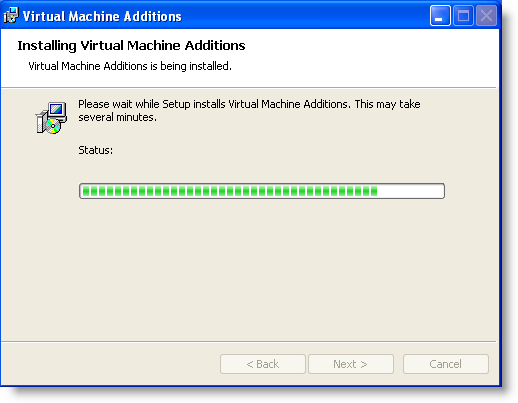
Installation of Virtual Machine Additions…

5. Once Setup is complete, click Finish.
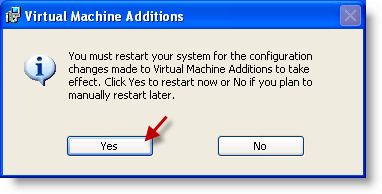
6. Click Yes to restart your Virtual Machine.
Features Available with Virtual Machine Additions
Improved mouse cursor tracking and control
Greatly improved overall performance.
Virtual machine heartbeat generator.
Optional time synchronization with the clock of the physical computer.
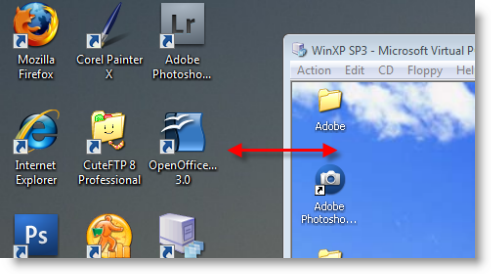
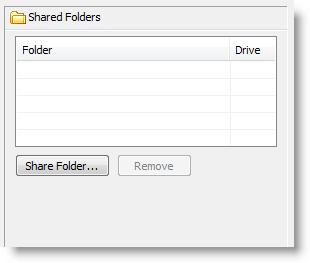
Folder sharing between host and guest operating system.
To download Virtual PC 2007 use the following link from Microsoft.
More information on Virtual Machine Additions can be found on Microsoft’s Technet website
