Have you ever taken an amazing picture only to realize that you were a victim of barrel distortion? Don’t panic just yet. For those of you who don’t know what barrel distortion is, think about it this way, when taking a picture with a wide angle lens or on the wide end of a zoom lens, barrel distortion, an optical effect, causes your images to appear bloated. This optical effect is most noticeable when there are straight lines in your picture. There are ways to correct distortion and this article will go over just that. If you have any questions or comments, feel free to post them below.
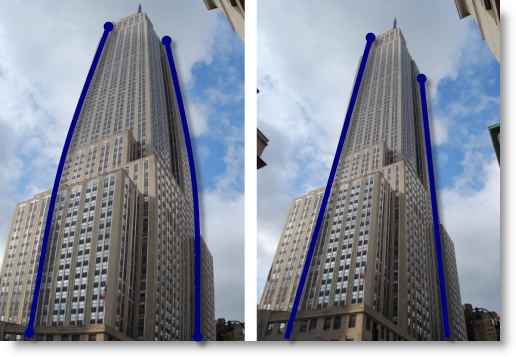
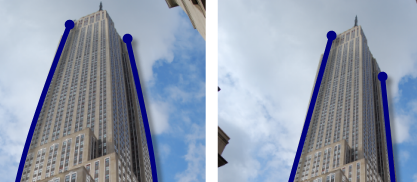
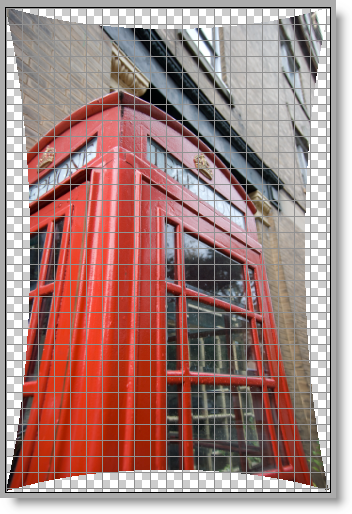
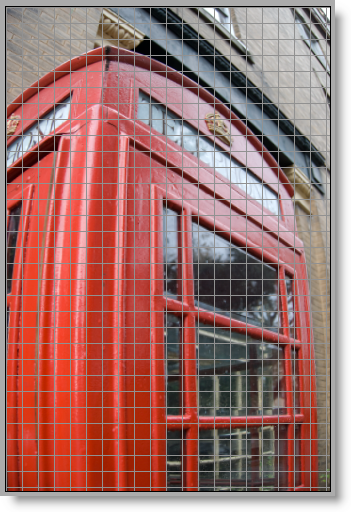
The pictures above demonstrate the effect of barrel distortion (distortion exaggerated to show effect)
Note: I used Photoshop CS3 to make these adjustments
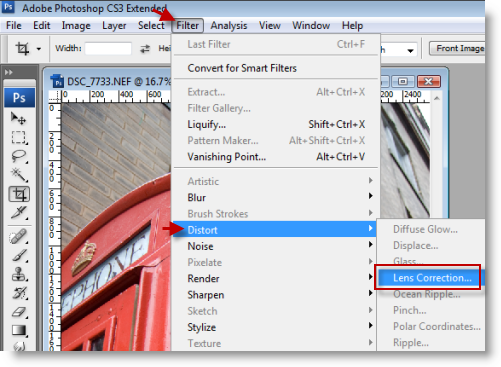
1.Open the image to correct and click on Filter > Distort > Lens Correction…
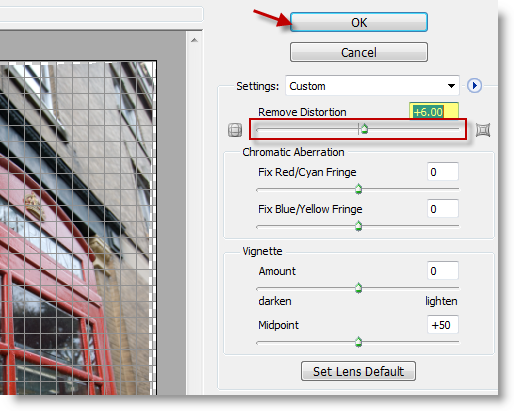
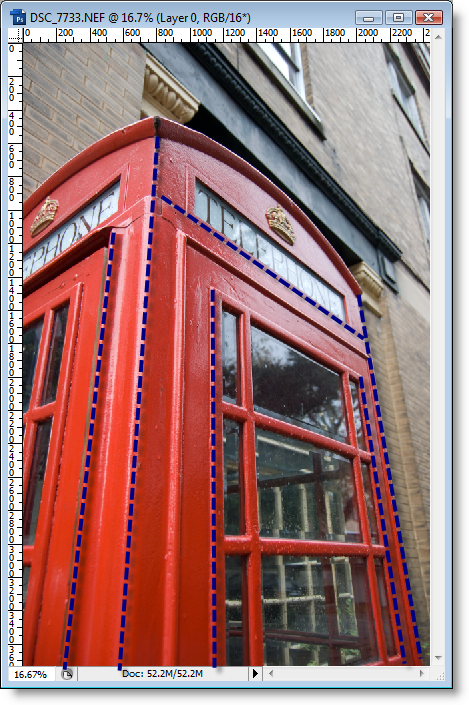
2. You can remove distortion by adjusting the the Remove Distortion slider from left to right. In this particular case an adjustment of +6 was sufficient to correct the distortion, you may have to play around with the setting until you get the results you want. Click OK to accept the changes.
Moving the slider to the left (negative values) caused the photograph to pinch.
Moving the slider to the right (positive values) causes the photograph to balloon.
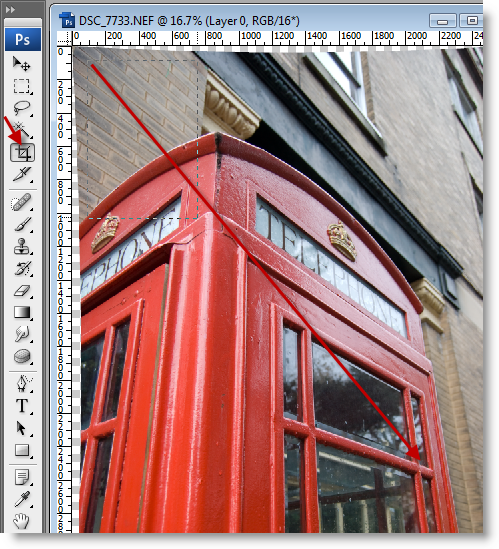
3. Once you’ve corrected the image, you might need to crop it, so select the Crop tool and crop the image.
Photograph after correction
Photograph before correction
