Outlook allows you to add multiple email accounts so that you can access all of your email from one location. The guide below will demonstrate how to add and remove accounts in Outlook so that you can accomplish this. If you have any comments or questions, please post them below.
Note: I used Outlook 2007 to create this tutorial, instructions should be similar in previous versions of Outlook.
Adding Accounts
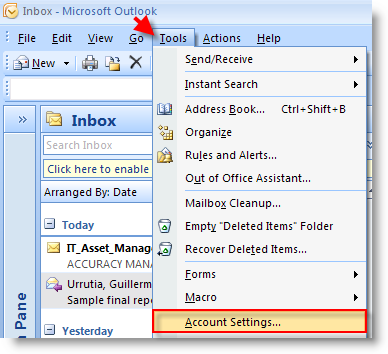
1. Open Outlook and click on Tools > Account Settings..The Account Settings window will open.
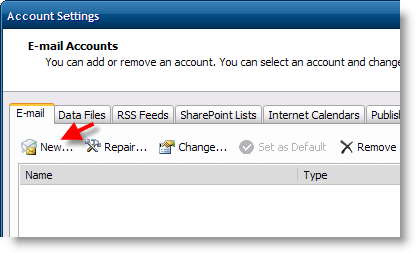
2. Make sure that the E-mail tab is selected and click on the New button.

3. Select the first option, Microsoft Exchange, POP3, IMAP, or HTTP, click Next
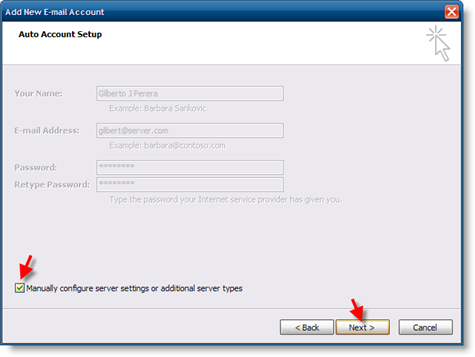
4. Add a checkmark to the Manually configure server… checkbox, click Next
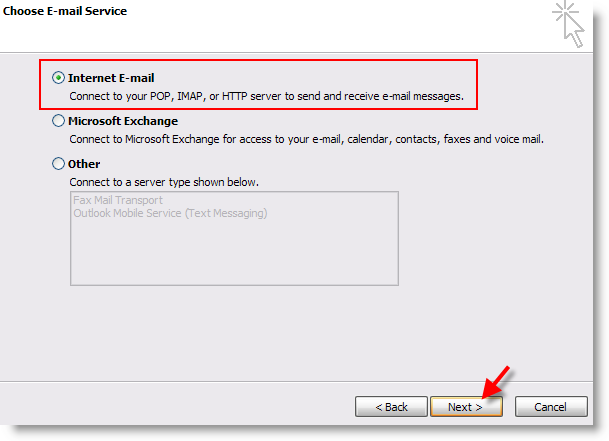
5. Select Internet E-mail and click Next
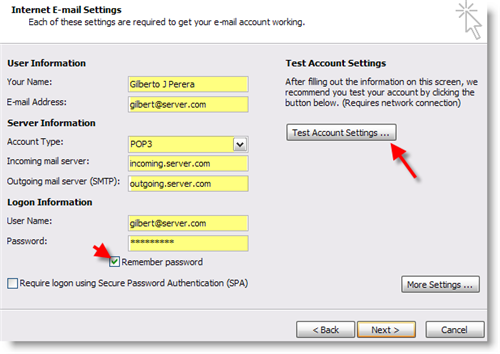
6. Enter the information designated in the highlighted fields, check the Remember password checkbox, and click Next.
Note: You can click on the Test Account Settings button to ensure that the settings you entered are correct (see screenshot below for account settings testing)
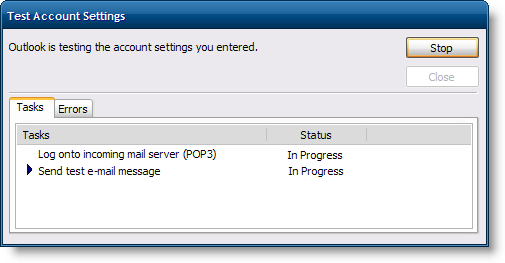
7. The tasks tab will list all of the items tested, if all passed proceed.
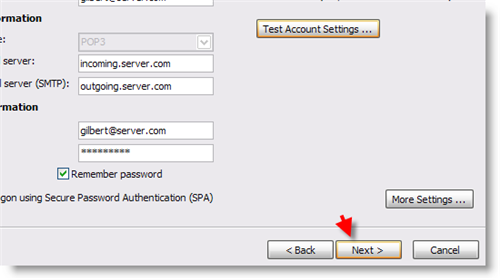
8.Click Next to proceed if you have not done so already.
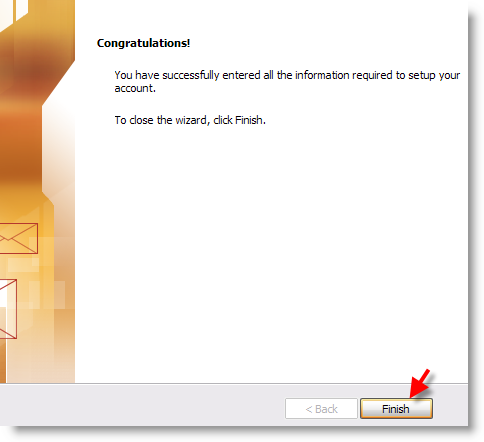
9. Congratulations you have set up your account, click Finish
Removing Accounts
In order to get to the step below, you must follow Step 1 from the Add Accounts section above.
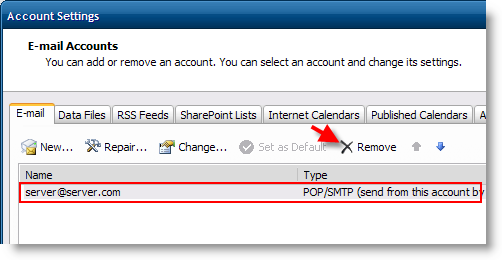
1. Select the account you wish to delete and click on the Remove button.
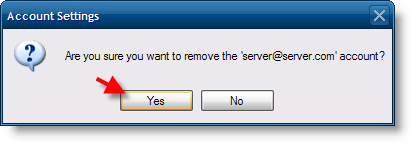
2. Click Yes when the dialog box appears.
