If you are new to the iPad and recently synced your contact list to your device you’re probably wondering how to manage and specifically how to add new contacts to the iPad’s contact list. In this guide I will show you how to add and delete contacts using the Contacts app on the iPad.
Software/Hardware used: iPad 2 running iOS 4.3.
Add New Contacts

1. Tap Contacts from the iPad’s Home screen.

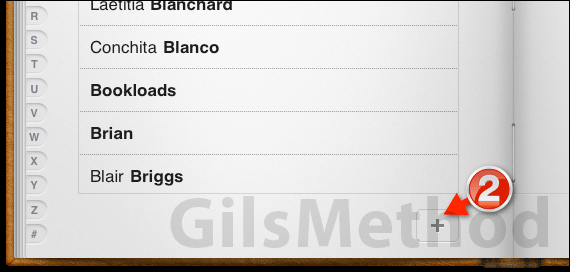
2. When the contact list appears, tap the [+] button to add a new contact to the list.

A. Enter the contact’s information, Name, Email, Address, etc.
B. Tap add photo to assign a picture for the contact.
C. You will be able to select a photo from the iPad’s Camera Roll/Library (Choose Photo) or by taking a snapshot with your iPad (Take Photo), only supported on the iPad 2.
3. When you are ready to save the contact, tap Done.
Delete Existing Contacts
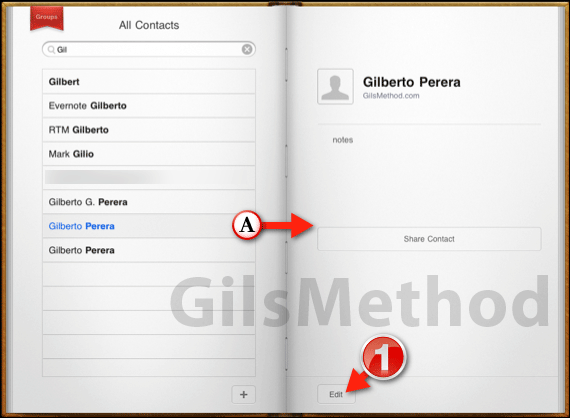
A. Once the contact is added, you can tap the contact from the list on the left to view the contact’s details on the page to the right.

1. To delete an existing contact, tap the contact and then tap the Edit button on the page to right.

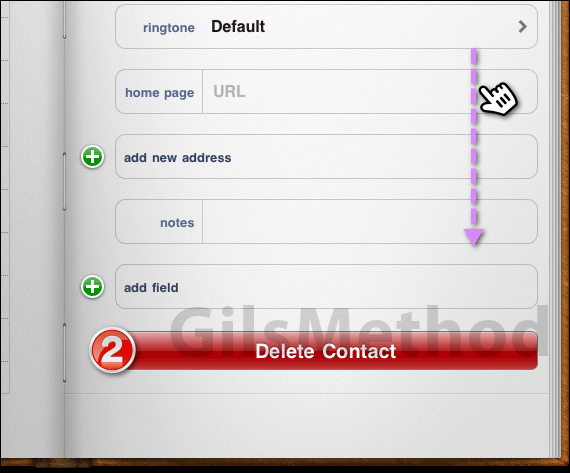
2. Scroll down the contact page and tap Delete Contact.

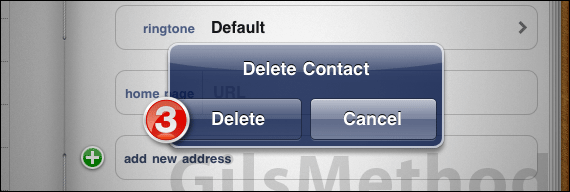
3. You will be asked to confirm deleting the contact, click Delete contact to confirm.
If you have any comments or questions please use the comments form below.


