I began using Windows Vista DVD maker for all of my picture slideshows, however when I learned of Picasa’s capabilities in this same space (customization of title screens, more flexibility with formats, and the ease of use inherent with Picasa) I began to use Picasa instead. The problem arose when I was ready to burn my movie slideshow.
Other than for backup purposes, Picasa does not have offer the capability of burning a DVD slideshow that is viewable by most stand-alone DVD players. I went back to DVD maker from Vista and instead of adding pictures as I had done in the past I simply added the video files generated in Picasa and burned the DVD from those files instead. The result is a wonderful highly customizable photo slideshow viewable in most stand-alone DVD players. The guide below will walk you through the steps necessary to burn your own movie slideshow to DVD using Windows DVD Maker and Picasa 3. If you have any comments or questions, please post them below.
Before following the guidelines found in this tutorial you should read the following articles that will walk you through the process of creating movies in Picasa and then customizing your DVD menu in Vista DVD maker.
Article #1 – How to Burn DVD Slideshows in Vista
Article #2 – How to Create Movie Presentations and Slideshows in Picasa
Once you’ve completed the light reading included in the two articles above, proceed to the directions below.
Create Hi-Def Video in Picasa 3
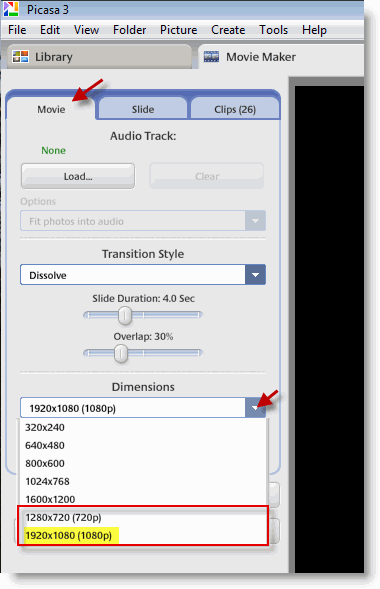
1. After you select the photographs for the slideshow (Step #1 of Article #2). Click on the Movie tab and select either 1280X720 for 720p video or 1920X1080 for a 1080p video.
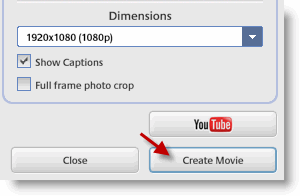
2. Click Create Movie after making your selections.
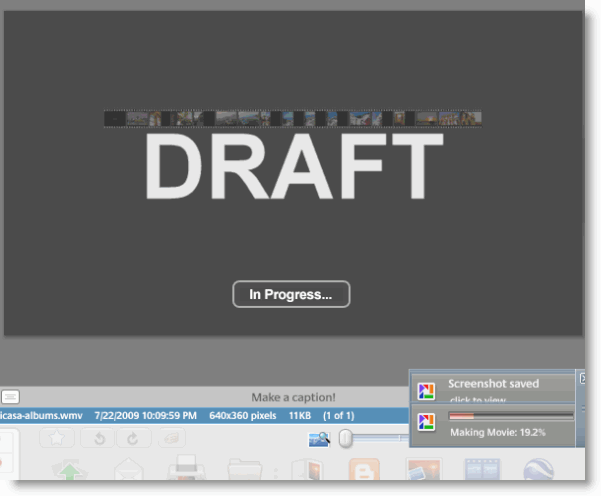
Movie creation In Progress…
Burning Picasa Movie Slideshow to DVD Using Windows Vista
Once movie creation is complete you can close Picasa and proceed to burning your movie to DVD.
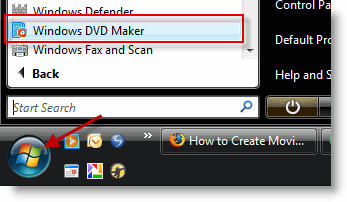
1. Go to the Start menu > All Programs and click on Windows DVD Maker
Note: In order to use Windows Movie Maker & Windows DVD Maker you must have Vista Home Premium or Vista Ultimate.
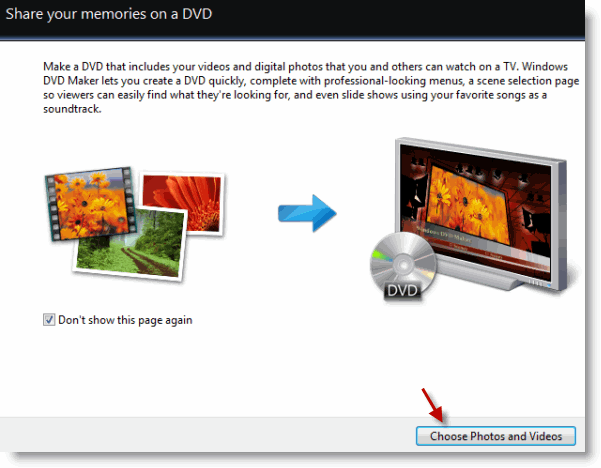
2. Windows DVD Maker will load, now let’s select the movie files to add to the DVD. Click on the Choose Photos and Videos button from the DVD maker splash screen.
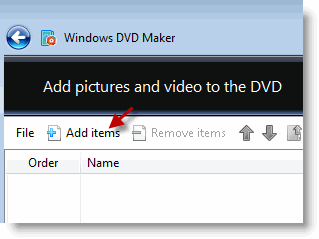
3. Click on Add Items located on the top-left corner.
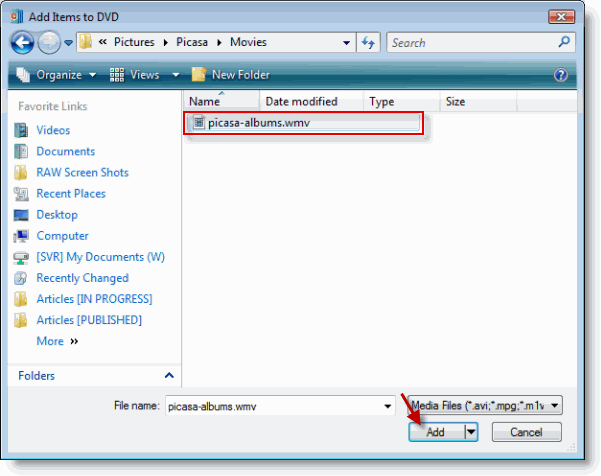
4. Browse to the directory where the movie file was saved (Picasa defaults to "Pictures\Picasa\Movies"), click on the file and click on the Add button. If you have multiple video files to add, hold the [Shift] key on your keyboard and click on each video to add to the selection and click the Add button when you are done.
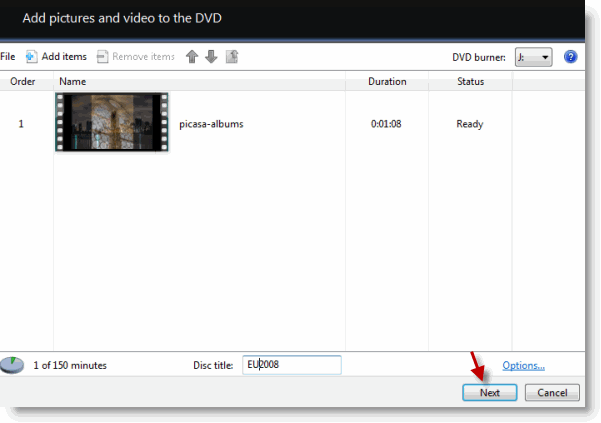
5. Depending on the size of your slideshows it may take a couple of seconds to a couple of minutes to process the video, click Next when you are ready to proceed.
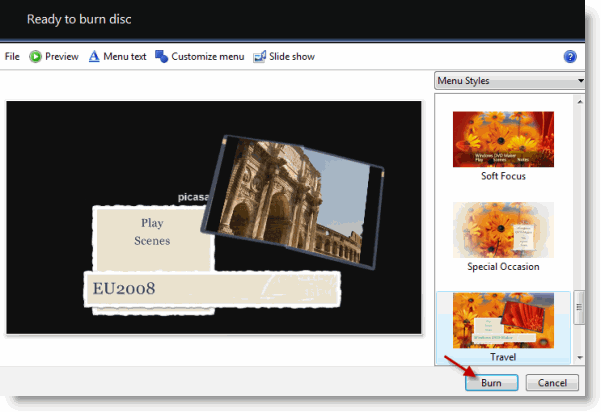
6. Configure the DVD menu you would like to use for this DVD, (please refer to Article #1 for more information). Click Burn when you are ready.
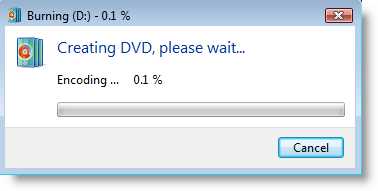
7. Burning will commence, this process may take anywhere from 30 minutes to several hours (depending on the number of videos and your computer specifications).
Once burning is completed, insert your new DVD into a DVD player and enjoy the show!

