![]()
Recently I attended a 2 hour seminar on Outlook and learned a couple of things I didn’t know before. Below you will find 5 short tips that will make your Outlook experience richer. If you’d like please add any tips you may have by commenting below.
Note: The screen shots below were made using Outlook 2007, some of these features are available in other versions of Outlook.
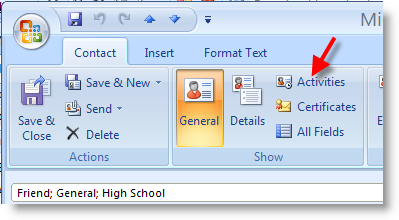
Quick Tip #1 – Use the Activities button to find all correspondence with the selected contact
1. With a contact selected click on the Activities button located in the Contact tab.
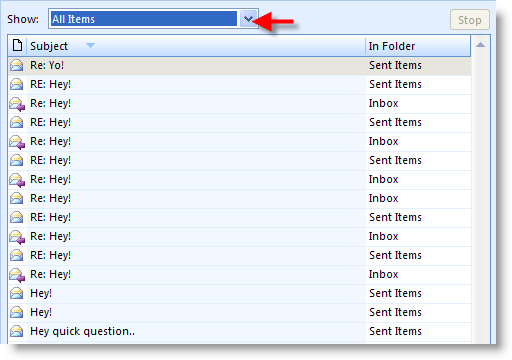
2. A dialog box will open listing all of the items related to that contact in Outlook and their location. You can filter the list by selecting a content type from the Show: drop-down menu.
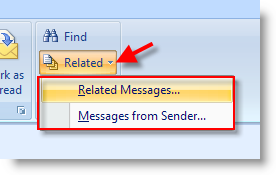
Note: You may also find the related messages by opening a message and clicking on the Related button and selecting Related Messages from the menu.
Quick Tip #2 – Attach messages, contacts, and other items from Outlook
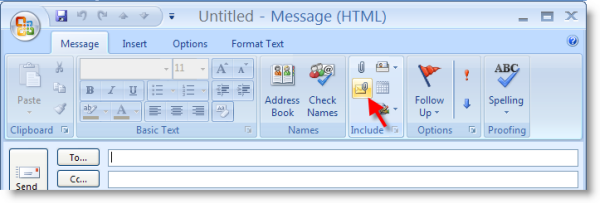
1. When composing a message click on the attach items button right below the attachment button.
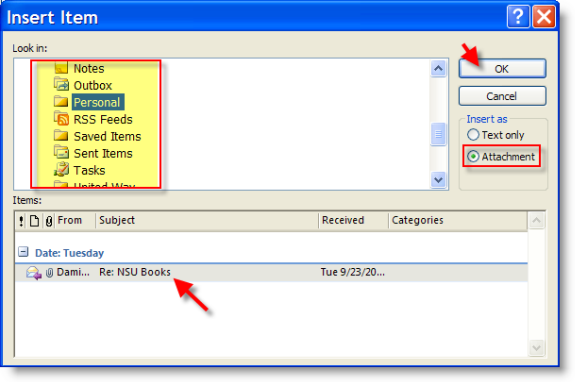
2. Select the Outlook folder which contains the item you want to send, the items for that folder will be listed below the Look in: section, make sure that Attachment is selected and click OK.
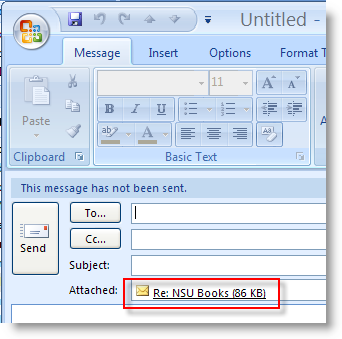
3. You will notice that the item selected is now in the Attached: section of the email.
Quick Tip #3 – Determine your mailbox size (how much space is your Outlook file taking up)
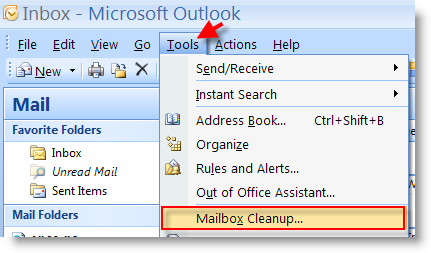
1. With Outlook open click on Tools > Mailbox Cleanup… (this opens the Mailbox Cleanup dialog box)
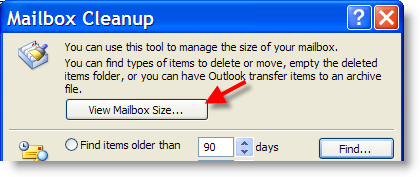
2. Click on the View Mailbox Size button located at the top of the dialog box
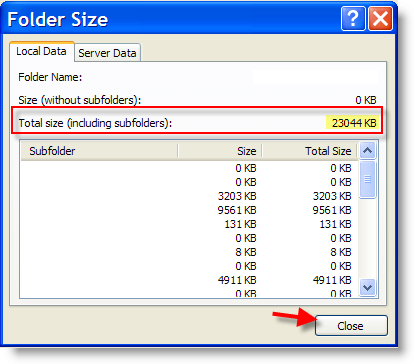
3. You can now see the total size your mailbox is occupying and each folders size within your mailbox folder. Once you’re done you can close the dialog box by clicking on Close.
Quick Tip #4 – Customize your Calendar settings
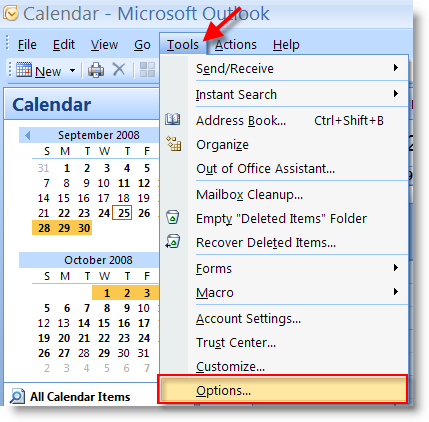
1. With Outlook open, click on Tools > Options…
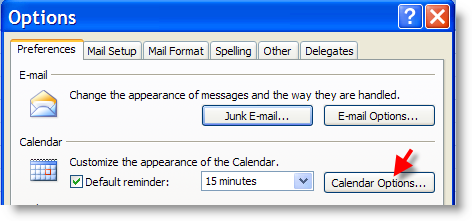
2. When the Options dialog box opens click on the Calendar Options… button located under the Calendar heading in the Preferences tab.
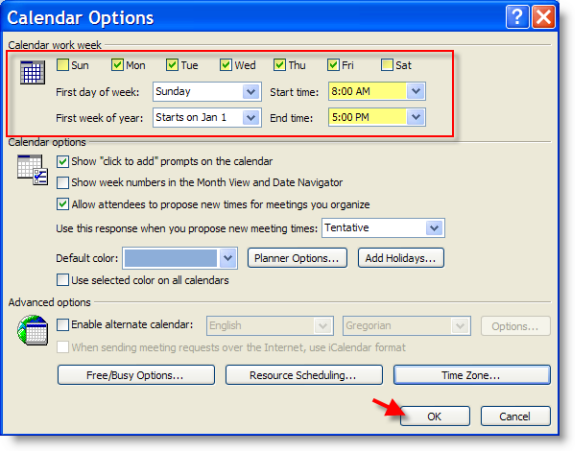
3. The Calendar Options window will open. In this window you can set the days which you consider workdays under Calendar work week (for most folks and the default is Mon-Fri), you can also set what you consider the First day of the week (when I print my calendars I like Saturday and Sunday together, so I set the first day to Monday), and you can also set the First week of the year starts on… (this is useful for folks on other calendars, fiscal years, etc.) and the Start and End time for work. All these settings help the way in which your calendar is displayed when you are viewing and printing. When you’re done click OK.
Quick Tip #5 – Add the Quick Print shortcut to the Quick Access Toolbar
Note: Applies only to Office 2007 programs and only when an item (email, calendar entry, contact) is open in Outlook
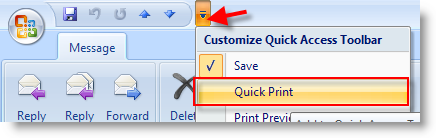
1. With a message open, click on the drop-down arrow next to the Quick Access Toolbar (the toolbar is located on the upper left corner of the window) and select Quick Print
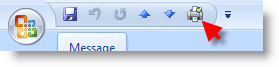
2. The Quick Print button now appears nest to the other icons on the Quick Access Toolbar.
Note: The Quick Access toolbar is available in all Office 2007 applications (in Outlook, you must have an item open, [message, contact, calendar entry] for the Quick Access toolbar to appear. Also note that each application, Outlook, Word, Excel, have their own settings, so you must customize each individually.
