This how-to is part of a larger series that I will be publishing in the coming weeks covering my switch from Outlook to Google’s online services. The intent of this series is to help others who have found themselves wanting more out of their email and calendar applications. This guide specifically covers the transfer of Outlook events to Google Calendar online. There are quite a few steps in this process so take your time and make sure that you follow it closely, this will ensure a successful transfer. If you know of an easier way to transfer your calendar information to Google or have any questions, please post them below.
Note: I used Outlook 2007 for this guide.
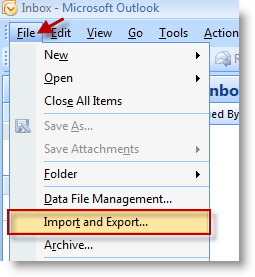
1. Open Outlook. Click on File > Import and Export…
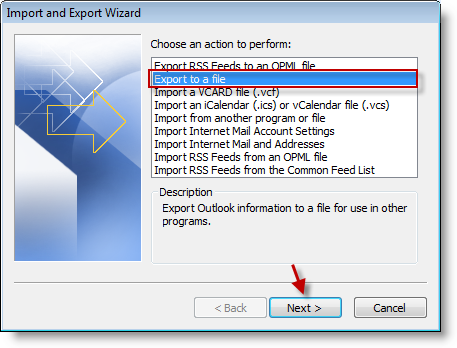
2. Click on Export to a file from the list and click Next
Note: I chose this option instead of iCal/vCal due to some errors I’ve received in the past. The CVS route is a sure thing.
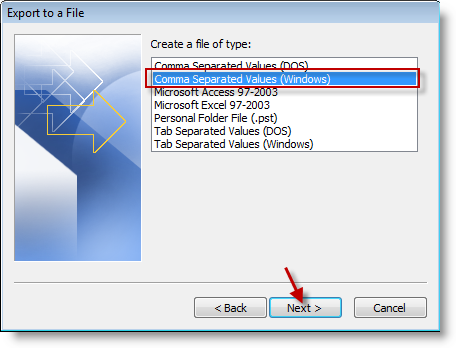
3. Select Comma Separated Values (Windows) from the menu, click Next.
Note: Make sure to select the file type for Windows
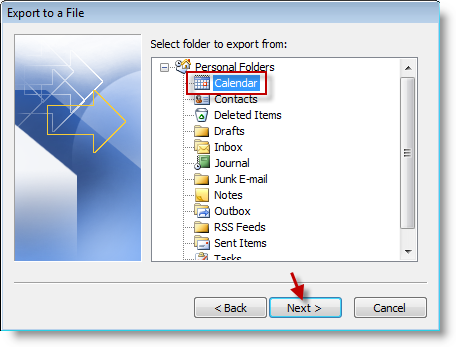
4. Select the folder to export from, in this case we will be exporting from the Calendar. Click the Calendar icon and click Next.
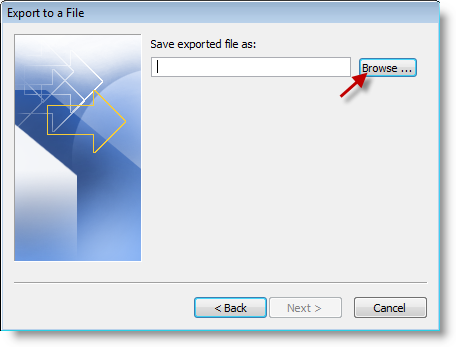
5. Click on Browse to select the directory where you would like to save the file.
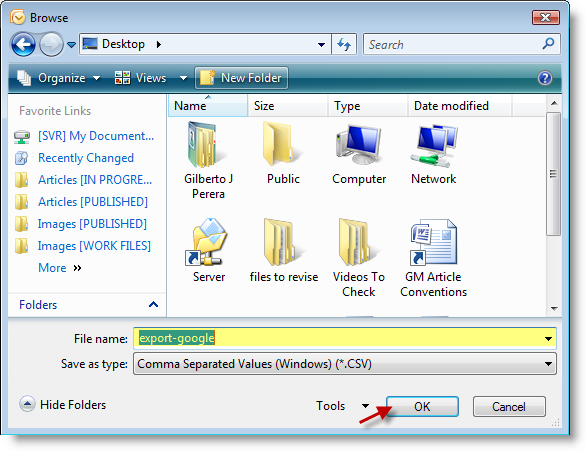
6. Name the file (export-google) and click OK.
Note: You can name the file whatever you like. I named it this way because it makes it easier to find.
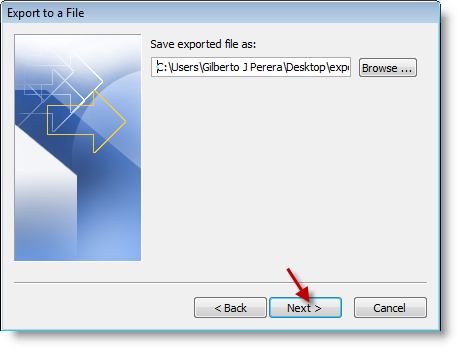
7. Click Next to proceed.
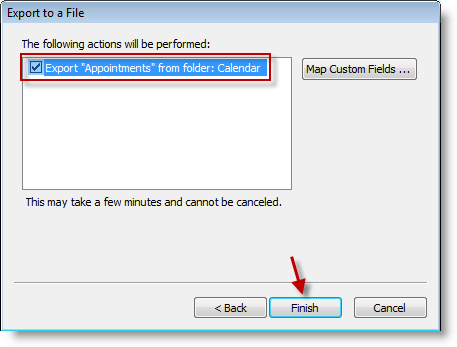
8. Make sure that Export "Appointments" from folder: Calendar is selected. Click Finish.
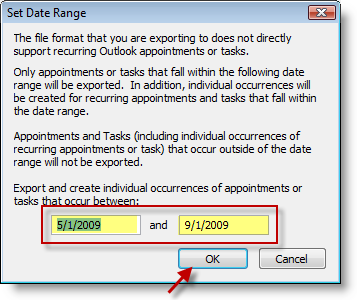
9. Enter the date range that you would like to include with this export and click OK when you’re ready to proceed.

10. When the export is complete you should find a .CSV file in the location you indicated.
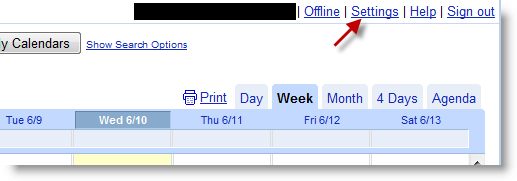
11. Log in to your Google Calendar and click on the Settings link on the top right corner.
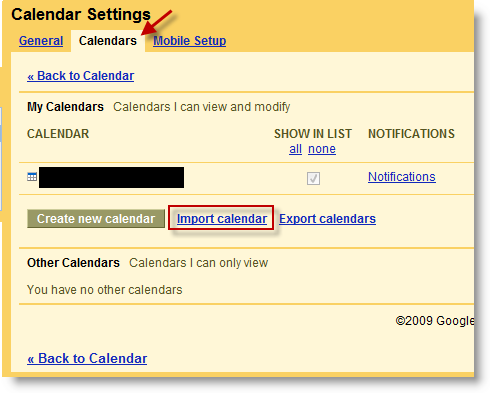
12. Click on the Calendars tab and click on the Import calendar link.

13. Click on the Browse button to locate your .CSV file we exported in the previous steps.
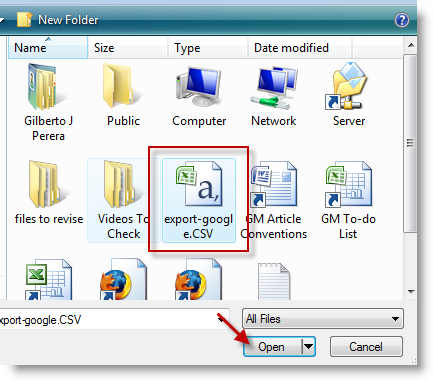
14. Locate the .CSV file and click Open.
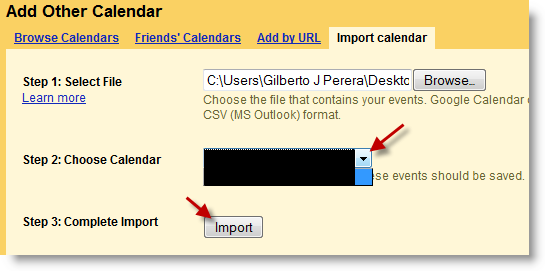
15. Choose a Calendar from the drop-down menu and click on the Import button.
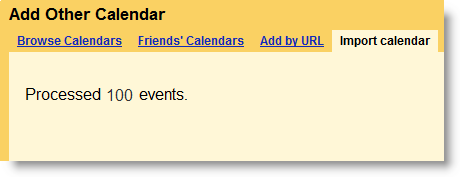
16. Depending on the number of events and the speed of your connection, the import can take seconds or a couple of minutes. When completed you should see the message above. Processed X events.
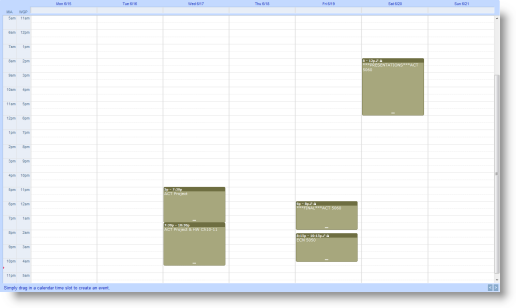
17. Return to your calendar and you should now see the events you just imported. Welcome to Google Calendar.


