If you plan on sharing your iPad with those in your home, you probably want to make sure that the little ones don’t have access to movies that are rated R or music that contains explicit lyrics. Like the iPhone the iPad allows you to restrict the Apps that can be used, the rating of the content that can be viewed, and whether or not Apps can be purchased. When enabled this feature requires that the user enter a password in order to view the restricted content.
The how-to below will show you how to enable this useful feature and the options available.
Do you own an iPad? You might want to look into protecting your investment with invisibleSHIELD screen protectors. If you need any help or have questions please post them below.
Are you looking for more iPad how-to’s, tips, and help? Visit our iPad page.
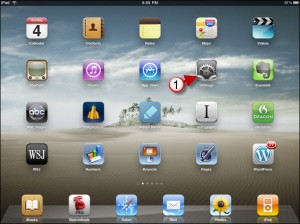
1. Tap on Settings in the Home Screen.
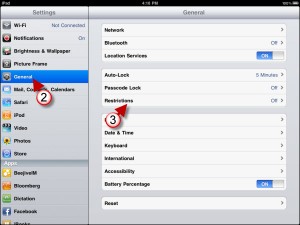
2. Tap on General in the Settings pane.
3. Tap on Restrictions in the General pane.
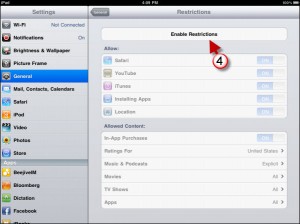
4. Tap on Enable Restrictions
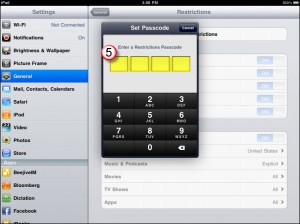
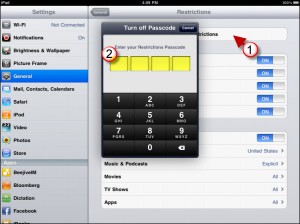
5. Enter the Passcode you wish to use.
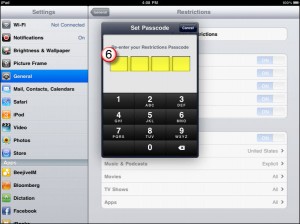
6. Repeat the Passcode entry.
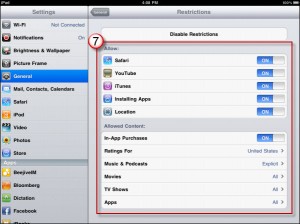
7. Toggle ON/OFF the Apps you wish to restrict and for App Purchases.
Other Restrictions available
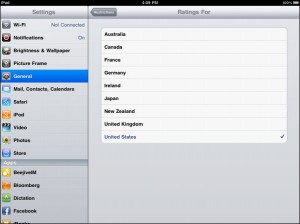
Restrict content by location.
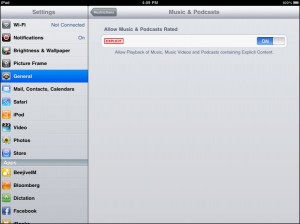
Restrict music and podcasts based on Explicit content.
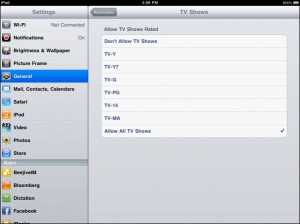
Restrict TV Shows by rating.
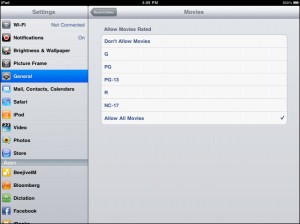
Restrict movies by movie rating.
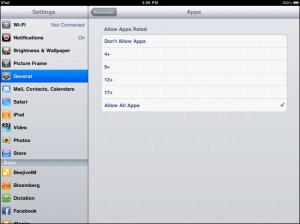
Restrict Apps by ratings

