In the previous iMovie guide I showed you how to create a new movie project. In this guide I will show you how to insert one of iMovie’s coolest features, animated maps. Animated maps are a great way to create videos of your trips or to add some real cool animation to videos containing location information. All you have to do is add the map to the timeline, set the start and end locations and iMovie will take care of the rest. Check out the instructions below so that you can create your own animated maps in iMovie.
Software/Hardware used: iMovie ’11 running on Mac OS 10.6.

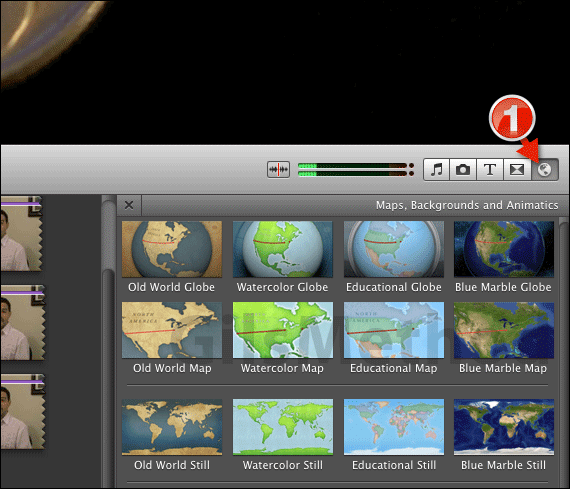
1. Click on the Maps, Backgrounds and Animatics Browser icon.

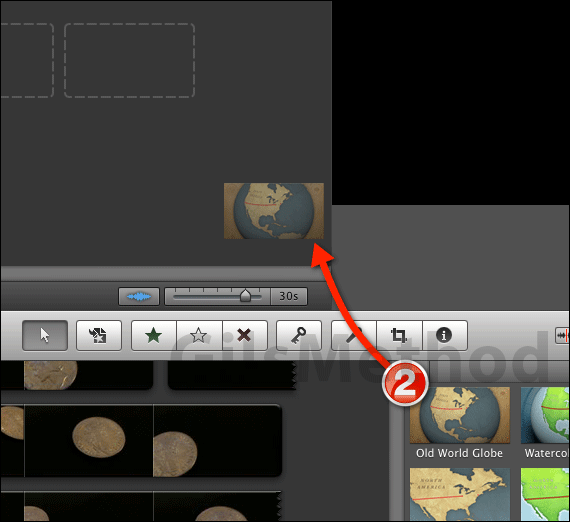
2. You will have several maps to choose from so select the Map you wish to use and drag it to the timeline.

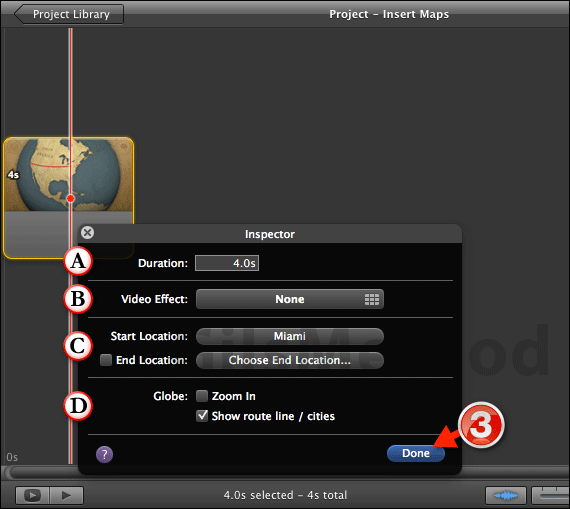
The map’s Inspector will open providing you with a list of options to customize the animated map.
A. You can set the duration of the animated map.
B. If you wish to use one of the available video effects on this clip, click the Video Effect button.
C. You have the option to have the map show only one location or have the map move from one location to another. Click to set the Start Location. To set the end location, check End Location and click the Choose End Location button to select the location.
D. You can customize the globe by adding a Zoom In option and if you have more than one city, the option to show a route line between the cities.
3. Click Done to save the changes.

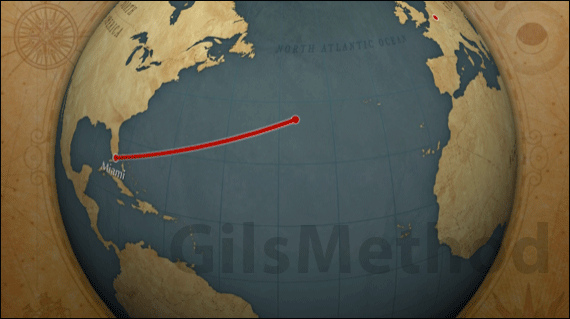
Press the spacebar or click the Play button to preview the animated map. If you have any comments or questions please use the comments form below.


