If you use Picasa to organize your pictures you may or may not be aware of the various options available to edit the photographs in your digital albums. Although simple to use in nature, some of the editing capabilities found in Picasa match that of photo editing packages that would normally carry a hefty price tag. Below I will walk you through the Tuning tab and provide you with a description and an example of each tool. If you have any comments or questions please post them below.
Note – Don’t fret, all changes made to your pictures using the tools below will not affect the original image. Like photo editing packages (Lightroom and others), Picasa is non-destructive, this means that Picasa will show you what your picture modifications will look like without actually modifying the original image. Of course if you wish, you do have the option of saving changes to the original image.
I used Picasa 3.5 for this tutorial. All pictures below were taken by me.
If you would like to familiarize yourself with the Basic Fixes tab, read the 9 Basic Fixes to Jazz Up Your Pictures in Picasa guide.
The Tuning Tab
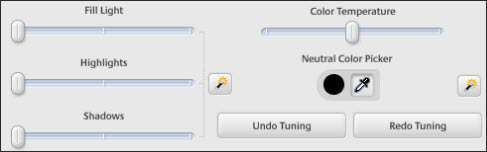
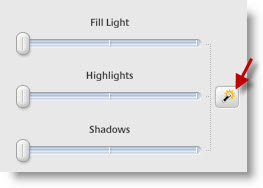
The Tuning tab gives users the capability to adjust the light and color in their images. Users can use the sliders to adjust the individual settings or use the One-Click fixes (small magic wands) to auto adjust the settings below.
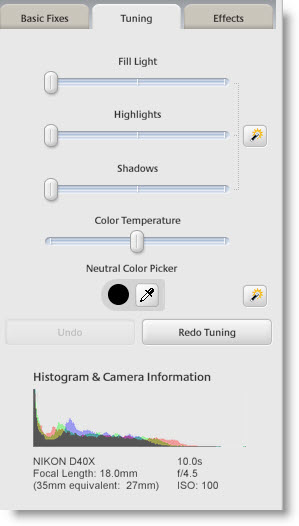
To reach the Tuning tab simply double-click on an image in the Library view and the left pane will switch from the Navigation pane to the editing pane. The Tuning tab will be located between the Basic Fixes tab (default selection) and the Effects tab.
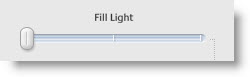
Fill Light Tool
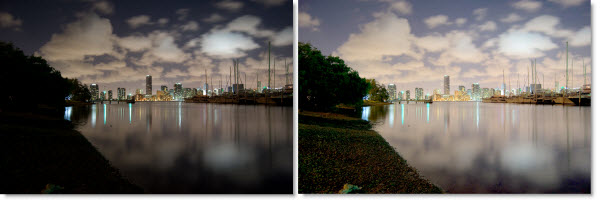
In the image below you will notice that using the Fill Light tool, details about the shoreline became visible. On the photograph to the left the shoreline is just dark and details are few, on the right details about the shoreline are visible, however the city skyline now appears to be over exposed, with this tool you will need to find the balance that best suits the photograph you are working on. The Fill Light tool is used to balance the bright and dark areas of a photograph.
This tool is also found in the Basic Fixes tab.
Highlights Tool
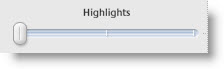
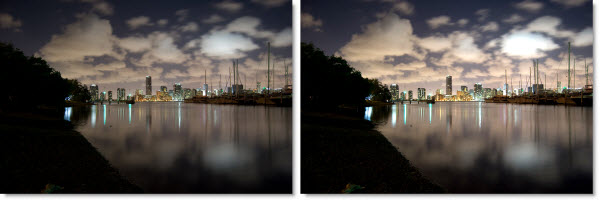
Suppose you really wanted to make the skyline below stand out without affecting the darker areas of the picture (the shoreline). You would use the Highlights tool to brighten or darken the bright spots of the image you are working on.
You will notice that the image to the right has a much brighter skyline compared to the image on the left. The Highlights tool is great for bringing out the brighter portions of the image.
Shadows Tool
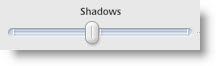
Like the Highlights tool above, the Shadows Tool amplifies or minimizes the brightness of the darker areas of the image only. You will notice that in the image to the right, the darker sections (shadows) of the image became darker and less distinguishable to its brighter counterparts. This is a great tool if you want to increase the contrast of the image.

One-Click Fix for Lighting Tool
If you have no time to fiddle with the various sliders used to modify the light in your image, Picasa provides you with a One-Click Fix for Lighting button (small magic wand) that will automatically adjust the lighting of the image you are working on. This automatic tool will only affect the Fill Light, Highlights, and Shadows sliders. If the outcome of the automatic lighting fix is not exactly what you are looking for you can always move the sliders and adjust it to your liking.
Color Temperature Tool
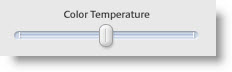
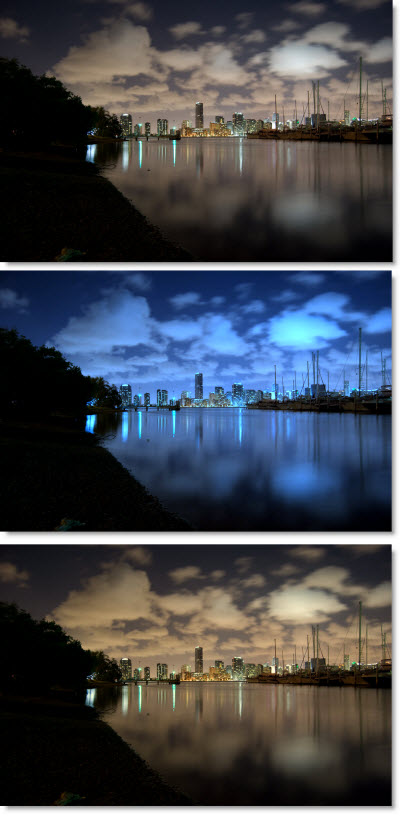
The Color Temperature Tool will allow you to make your picture warmer or colder. If you don’t know what I mean by that, look at the three images below.
- First image is the original
- Second image has been made colder (extremes)
- Third image has been made warmer (extremes)
Play with this tool and you will be amazed at the difference it makes on certain pictures.
Neutral Color Picker and One-Click Fix for Color
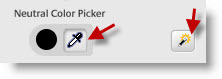
The Neutral Color Picker (small eye drop icon) can be used to specify which part of the photo should be treated as gray or white, it will then balance the colors. The Small Magic Wand will automatically adjust the colors in the photograph.
Histogram & Camera Information
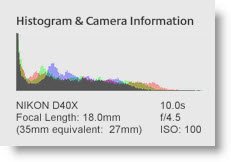
The Histogram provides essential information about your photograph’s levels as well as provide (if supported by your camera) information about the photograph and the camera used to take the picture. In the photograph used above, the picture was taken with a Nikon D40X, 10 second exposure, f/4.5, ISO 100, and Focal Length of 18mm. A wealth of information can be obtained through the Histogram and Camera Information section.
Last Words…
The beautiful thing about all of these tools is that you can Undo their effects with the push of a button.
I will be working on other guides to explain each of these tools in detail, expect those in the next couple of weeks. Until then, happy editing!
