Are you having problems with your Windows 7 PC? Don’t call the geek Squad yet, you might be able to fix the problem yourself. Windows 7 ships with a very useful System Restore feature. System Restore enables Windows 7 users to restore their computers to previous state using restore points (snapshots of the computer) that are created whenever applications are installed or drivers are added to the computer. If you happen to install a program or hardware driver that is giving you trouble, you simply restore the computer to a previous restore point (snapshot) and that should take care of the problem.
You’d be surprised, but a lot of computer problems can be traced back to an incompatible program you installed, a new driver , or corruption of system files. With System Restore you should be able to solve these issues. If you want to create a manual restore point, follow the instructions in the How to Create a Restore Point in Windows 7 guide.
I will show you how to restore your computer to a previous state using the System Restore tool in Windows 7. If you have any comments or questions, please post them below.
How to Use System Restore
Note: I used Windows 7 Ultimate for this tutorial.
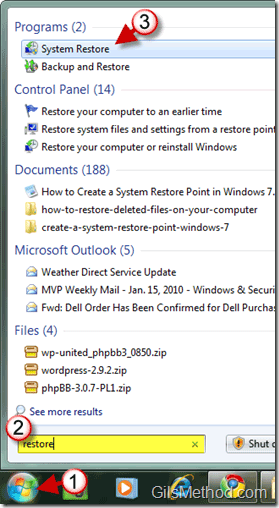
1. Click on the Orb to open the Start Menu.
2. Type ‘restore’ in the Windows Search box.
3. When the search results appear, click on the System Restore icon.
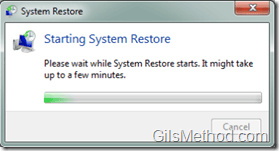
Starting System Restore…
4. When the Wizard opens, click on Next to continue.
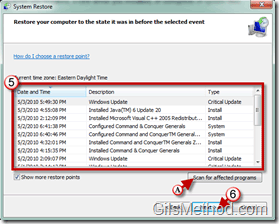
5. Select the restore point you wish to use.
Note: Look for the restore point that was created due to a new program/driver installation, usually these are the ones that would cause problems on your PC.
6. Click Next to proceed.
Note: If you wish to see a list of programs affected by restoring the computer, follow steps A and 7.
A. To see a list of programs that will be affected by performing a system restore, click on the Scan for affected programs link.
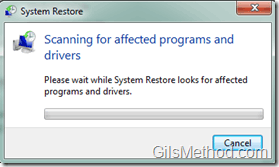
Scanning for affected programs and drivers.
7. Click Close to return to the Restore window.
Note: Restoring to previous restore point will uninstall the software highlighted above and reinstall previously removed applications on the list.
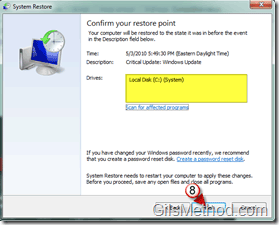
8. Verify the drives affected, click Finish to start the restore process.
Your computer will reboot and begin the restoration process. Once completed your computer should be in the state it was when the selected restore point was created.
If you are still experiencing problems with Windows 7, you might want to give Microsoft FixIt a try or post the problem you are experiencing in the comments section below.

